How to Patch Driveway Asphalt: 5 DIY Important Tips
Despite the fact that asphalt is a naturally rugged, long-lasting material, there will still come a day when your driveway begins to show its age. Given the conditions that most driveways find themselves under constantly, this should come as no surprise.
The good news is that this doesn’t mean you’re due for a total replacement – at least not yet. Patching and other forms of asphalt maintenance are very possible to do successfully on your own – you simply need to keep a few key things in mind to make sure the project goes properly.
Begin With an Inspection
By far, the most important thing to understand about DIY asphalt repair has to do with how you should always conduct a thorough inspection of your driveway or parking lot at the outset. This will help you put together a concrete (no pun intended) game plan moving forward.
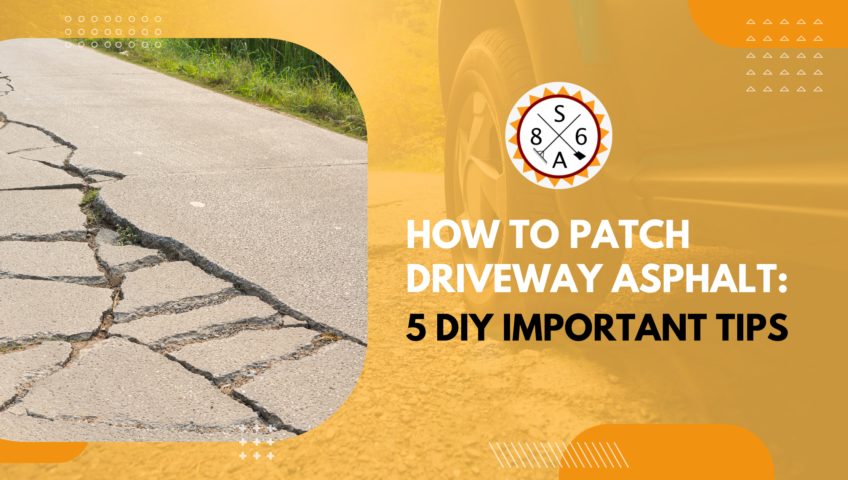
Case in point: the size of the track. If the cracks that you’re dealing with are 0.5 inches in width or less, you can simply use crack filler and a caulking gun. If they are bigger than that, you’ll need to use something more extensive, like gravel. But you won’t know unless you examine the area first.
The Importance of Asphalt Maintenance Products
Next, you’ll want to make sure that you’re using the right asphalt maintenance products to begin with. Failure to do so could doom your project before it even has a chance to start.
You should make it a habit to visually inspect your driveway a few times a year, for example, and use crack filler as necessary. There may be long periods of time where you don’t have to, but it’s always best to check. At the very least, this allows you to stop a small problem now before it has a chance to become a much bigger one later on.
The Art of Proper Surface Preparation
It’s equally important to understand that you cannot simply “jump right in” to your DIY asphalt repair project. Proper surface preparation is one of the keys to success.
First, you’ll want to make sure that the entire area you’re working with is clean. You should also take care to remove any asphalt that has become loose. Note that this is true even if it requires you to make a slightly bigger hole in order to do so.
Make Sure Your Equipment is Ready
Finally, make sure that you have all the appropriate equipment ready before you start. This will make sure that you can fluidly move from one part of the process to the other without delay.
In addition to the tools outlined above, you’ll also need a tamping tool. You’ll use it two times – once immediately after the holes and/or cracks have been filled, and again when you’ve gone through the finishing process. This will help eliminate any air holes that may be present.
Contact the Professionals
Finally, while DIY asphalt repair is absolutely possible, you also need to understand that some situations may require you to call in professional asphalt companies to make sure everything gets done properly.
If you feel like the process is too big or too complicated to handle on your own, get recommendations from friends or family members that have worked with asphalt companies in the past. At the very least, you’ll likely save money over making mistakes and you’ll also likely end up saving a significant amount of time, too.
If you’d like to find out more information about DIY asphalt repair and what you should watch out for, or if you’d just like to talk about the specifics of your next big project with someone in a bit more detail, please don’t delay – contact us today.
