Asphalt Milling VS. Asphalt Resurfacing
Asphalt is the general term used to describe the material that makes up the majority of roads around the world.
It is a mixture of various sizes of rock and oil as a binder. The process of developing an asphalt mix and laying it down to form a road is complex. However, without this process, roads that have been damaged over years of use would not be replaced or upgraded with new asphalt. There are a number of steps to replacing or upgrading an asphalt road, and while it is very rare for a road to be completely removed down to the dirt and repaved, the process of asphalt resurfacing is an important task for any asphalt company.
Asphalt resurfacing is the term used to describe the process of removing a portion of a road, usually no more than an inch or two, and then laying down new asphalt. This is something that needs to be done periodically, especially as new mixes of asphalt are developed to better withstand damage. The process of resurfacing a road can be broken down into just a few steps. However, sometimes the processes involved in a resurfacing project may be confused with one another. Understanding the differences among these individual steps, and their importance to the entire process, will enable you to better grasp what is going on during the resurfacing of an asphalt road.
The first step of the process is asphalt milling.
You may have seen milling machines working on a road. They are used to remove old asphalt, which is ground up and may be recycled. The milling process provides an asphalt company with something like a “blank canvas” to go back and repave with new asphalt. Milling can take place along a long stretch of a road, or in just a small area that needs to be repaired. Either way, the process takes off old and damaged asphalt, providing room for laying new asphalt without raising the height of the road.
After the milling process comes the process of asphalt resurfacing itself.
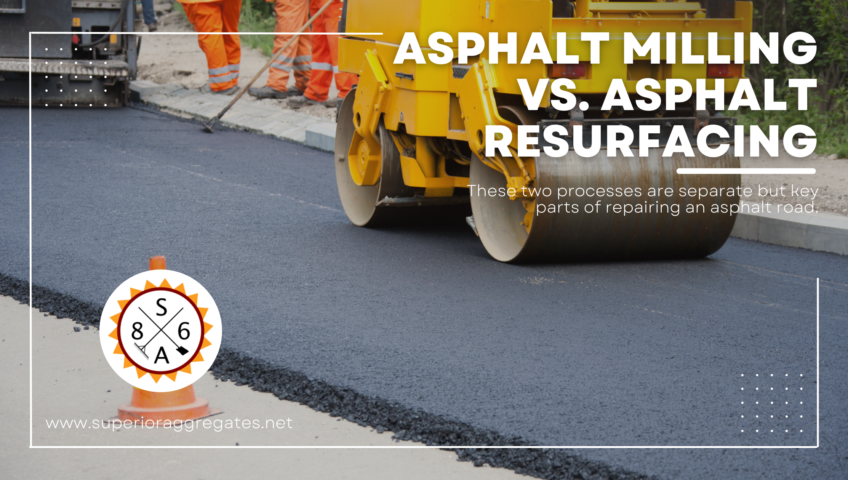
This is when the new pavement is laid down on top of the milled surface. The new mix is poured and rolled out to form a new surface to drive on. This process will involve a number of pieces of paving equipment, each of which plays an important role in ensuring that the new asphalt road meets the necessary standards.
As you can see, while the entire process may be referred to as asphalt resurfacing, the actual resurfacing is just one aspect of the process. It is important that the old asphalt be removed in order to provide a good place to start laying a new layer of asphalt. By using a milling machine to scrape off the top inch or two of asphalt, the new pavement can be laid without raising the level of the road. After the surface is prepared, the new asphalt can be laid. Sometimes, the laying of the new asphalt is what is referred to as the asphalt resurfacing process.
Understanding the difference between removing the asphalt, milling, and laying new asphalt, resurfacing, is important for knowing what is going on throughout the process of a paving project. And while some of the terms may be interchanged, these two processes are separate but key parts of repairing an asphalt road.

