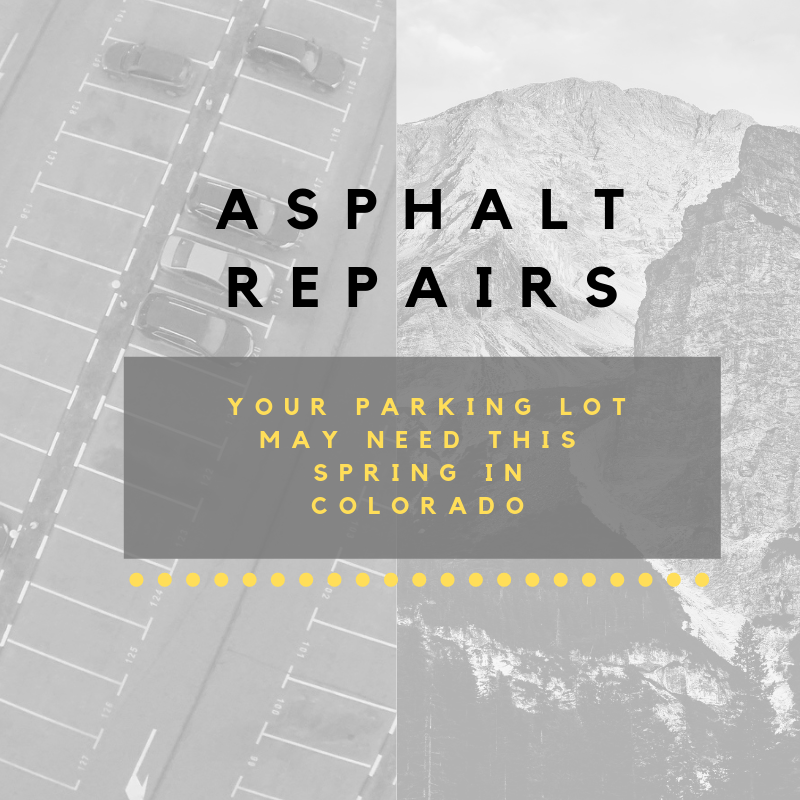
Has your asphalt driveway or parking lot gotten hammered this winter? You aren’t alone. However, with the right products and a few DIY skills, you may be able to repair the damage and prevent future issues.
Prevention Tips
The number one repair tip is to prevent damage before it starts. Some ideas here include:
- Repair small cracks in the fall so they won’t worsen over the winter.
- Clear debris away so it doesn’t scratch up the asphalt.
- In colder months, regularly shoveling snow to minimize pools of standing water.
Repair Tips
When it comes to pavement, it’s always better to tackle problems sooner rather than later. Tiny cracks can become deep crags and potholes faster than you think. Here are four problems and what to do about them:
Is Your Asphalt Cracked?
There are several products you can get from local home repair centers for fixing asphalt cracks. Look for a two part kit that includes melt-in filler and cover mix that is troweled in. Follow the instructions on the box, but in general you will:
- Clean the cracked area well so the filler will adhere.
- Press the filler into place.
- Melt it in with a blowtorch.
- Trowel on a patch.
- Let it cure for a full 24 hours. Rain will ruin the job.
Are There Pits in the Asphalt?
If you notice these where cars are parked, they could be from leaked motor oil and coolants. Smaller pits can be repaired with a patch in a similar process as with cracked asphalt. However, keep in mind that you’ll need to clear the oil out first. Use a product designed to cut oil, prime the area with oil stain primer, and then patch as above. If you still notice shallow pits, make a second pass with the patching to create a flat, sealed surface.
Do You Have Potholes?
These large pits can damage both ankles and vehicles, and if left untreated they will continue to grow. However, if you’re up for another trip to the hardware store, these are straightforward to patch. Get a bagged product and follow the instructions. The general procedure is:
- Clear the pothole of bigger chunks of debris
- Scoop or pour about two inches of asphalt patch into the hole.
- Use a shovel, tamping tool, or the blunt end of a firewood log to compact the material. The more compact you can get it, the better.
- Repeat steps 2-3 in two inch increments until it’s level.
- Add a small crown. This will compensate for the patch settling over time.
- Cure and seal.
Are There a Mix of Problems? Do You See Rippling or Sagging Asphalt?
If your driveway has more minor issues than you can easily count, it may be time for a full resurfacing. On the other hand, if you notice large slumped areas or ripples, that’s a worrying sign of possible damage to the surface under the asphalt. In both cases you’re looking at a big job to fix the situation.
It’s probably time to walk past your garage of tools and patch kits and head straight to your phone. Call in the pros. A professional repair company will know how to handle your damaged asphalt in a fast, efficient way and get things fixed right the first time around.