
Feb 16, 2020 | Asphalt Paving
One of the more important decisions for a commercial space is the design of the parking lot. These lots should be safe to drive in, comfortable for customers to use, and compliant with regulations. However, there are no one-size-fits-all parking space dimensions in...
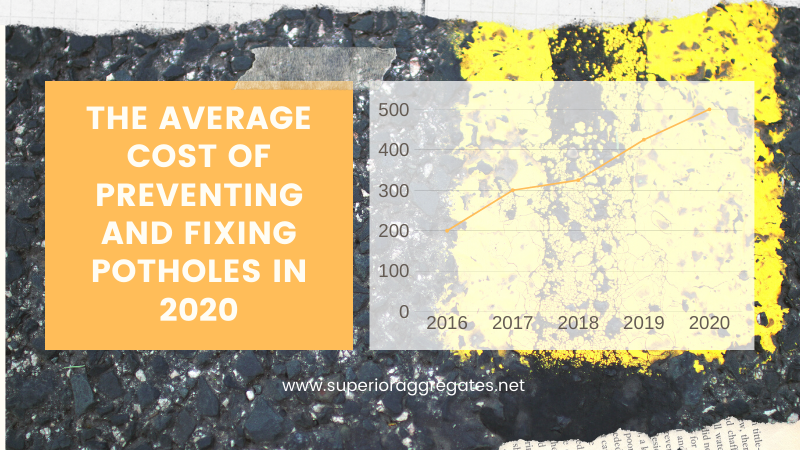
Jan 27, 2020 | Asphalt Paving
Pothole repair can be quite frustrating but it doesn’t have to be. By being proactive and fixing asphalt cracks, you can prevent potholes from occurring in the first place. However, if you need to fix potholes in the area where you live, there are professional...

Jan 17, 2020 | Asphalt Paving, Paving
No matter if you are a beginner or a seasoned construction worker, knowing the proper method of asphalt paving can make or break your ability to be successful in this industry. No matter if you are starting your own company, work for someone else, or if you simply...