
Feb 27, 2023 | Construction
When you work with an asphalt contractor, you want to know that the job is going to be done right the first time. A good asphalt paving job is done with care, and is going to last for years, while poorly done asphalt paving is going to have a number of complications...
Dec 30, 2022 | Construction
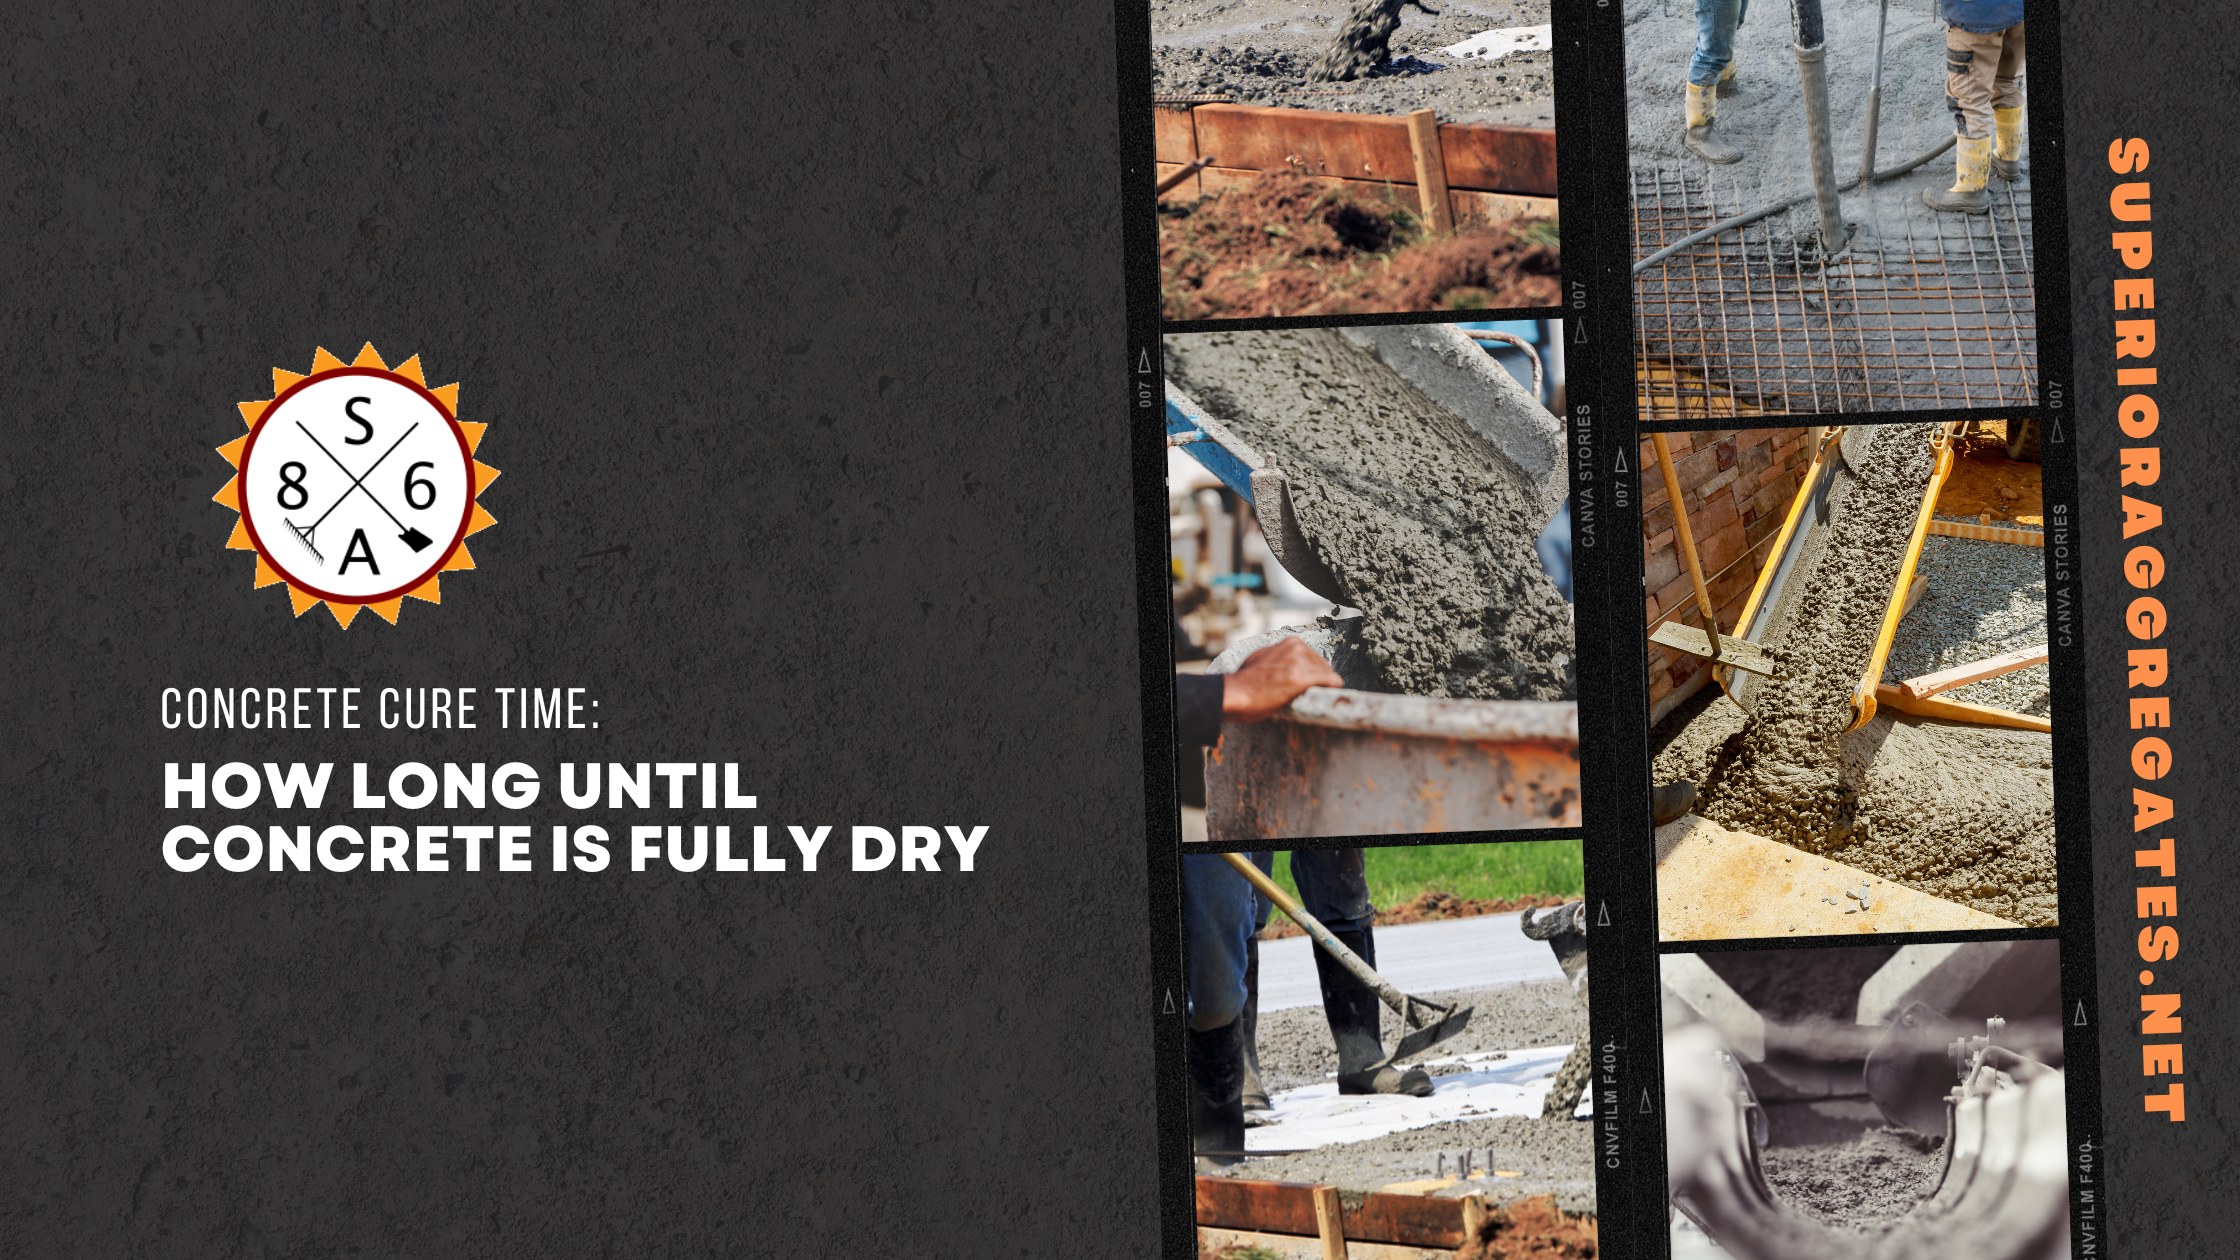
When concrete contractors install a driveway, sidewalk, patio, or concrete slab floor, they will advise the client that the surface must cure before being walked or driven upon. Concrete cure time is the process of allowing the new surface to fully dry and develop its...
Oct 17, 2022 | Construction
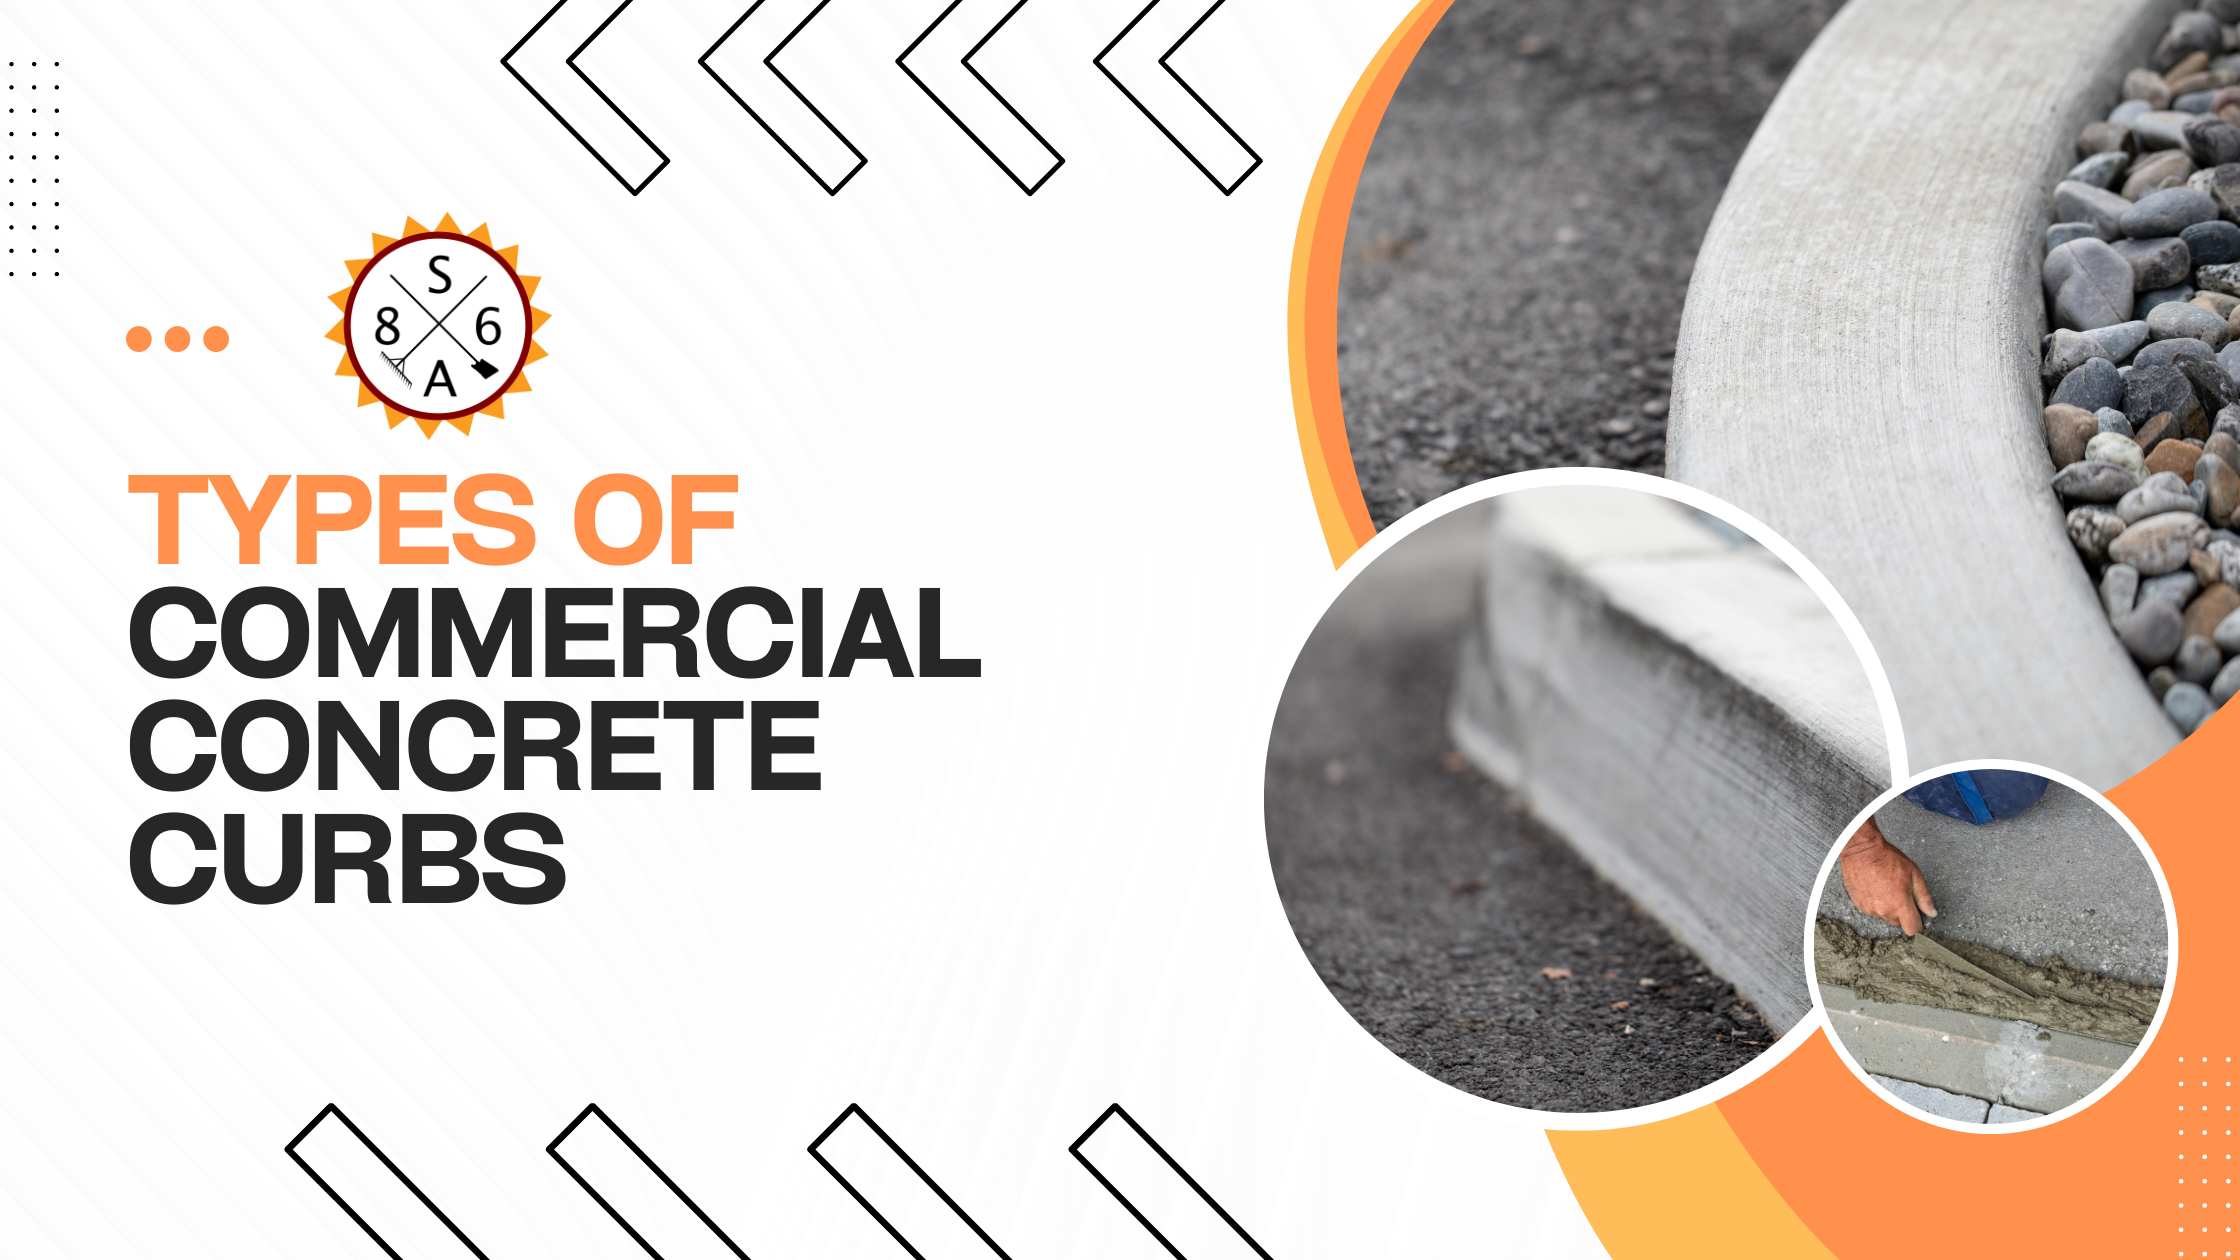
There are three main types of commercial concrete curbs: barrier curbs, decorative curbs, and mountable curbs. These curbs all serve very different purposes, so it is important to know the differences if you need curbs for your business. Creating beautiful and...

Apr 29, 2022 | Construction
Tips from a Concrete Company to Set Your Patio Up for Success! Concrete patios are becoming more of a trend and it’s not difficult to see why – they’re sturdy, they’re long-lasting, and they look amazing! But to have a concrete patio that’s sure to be the talk of the...
Apr 16, 2022 | Construction
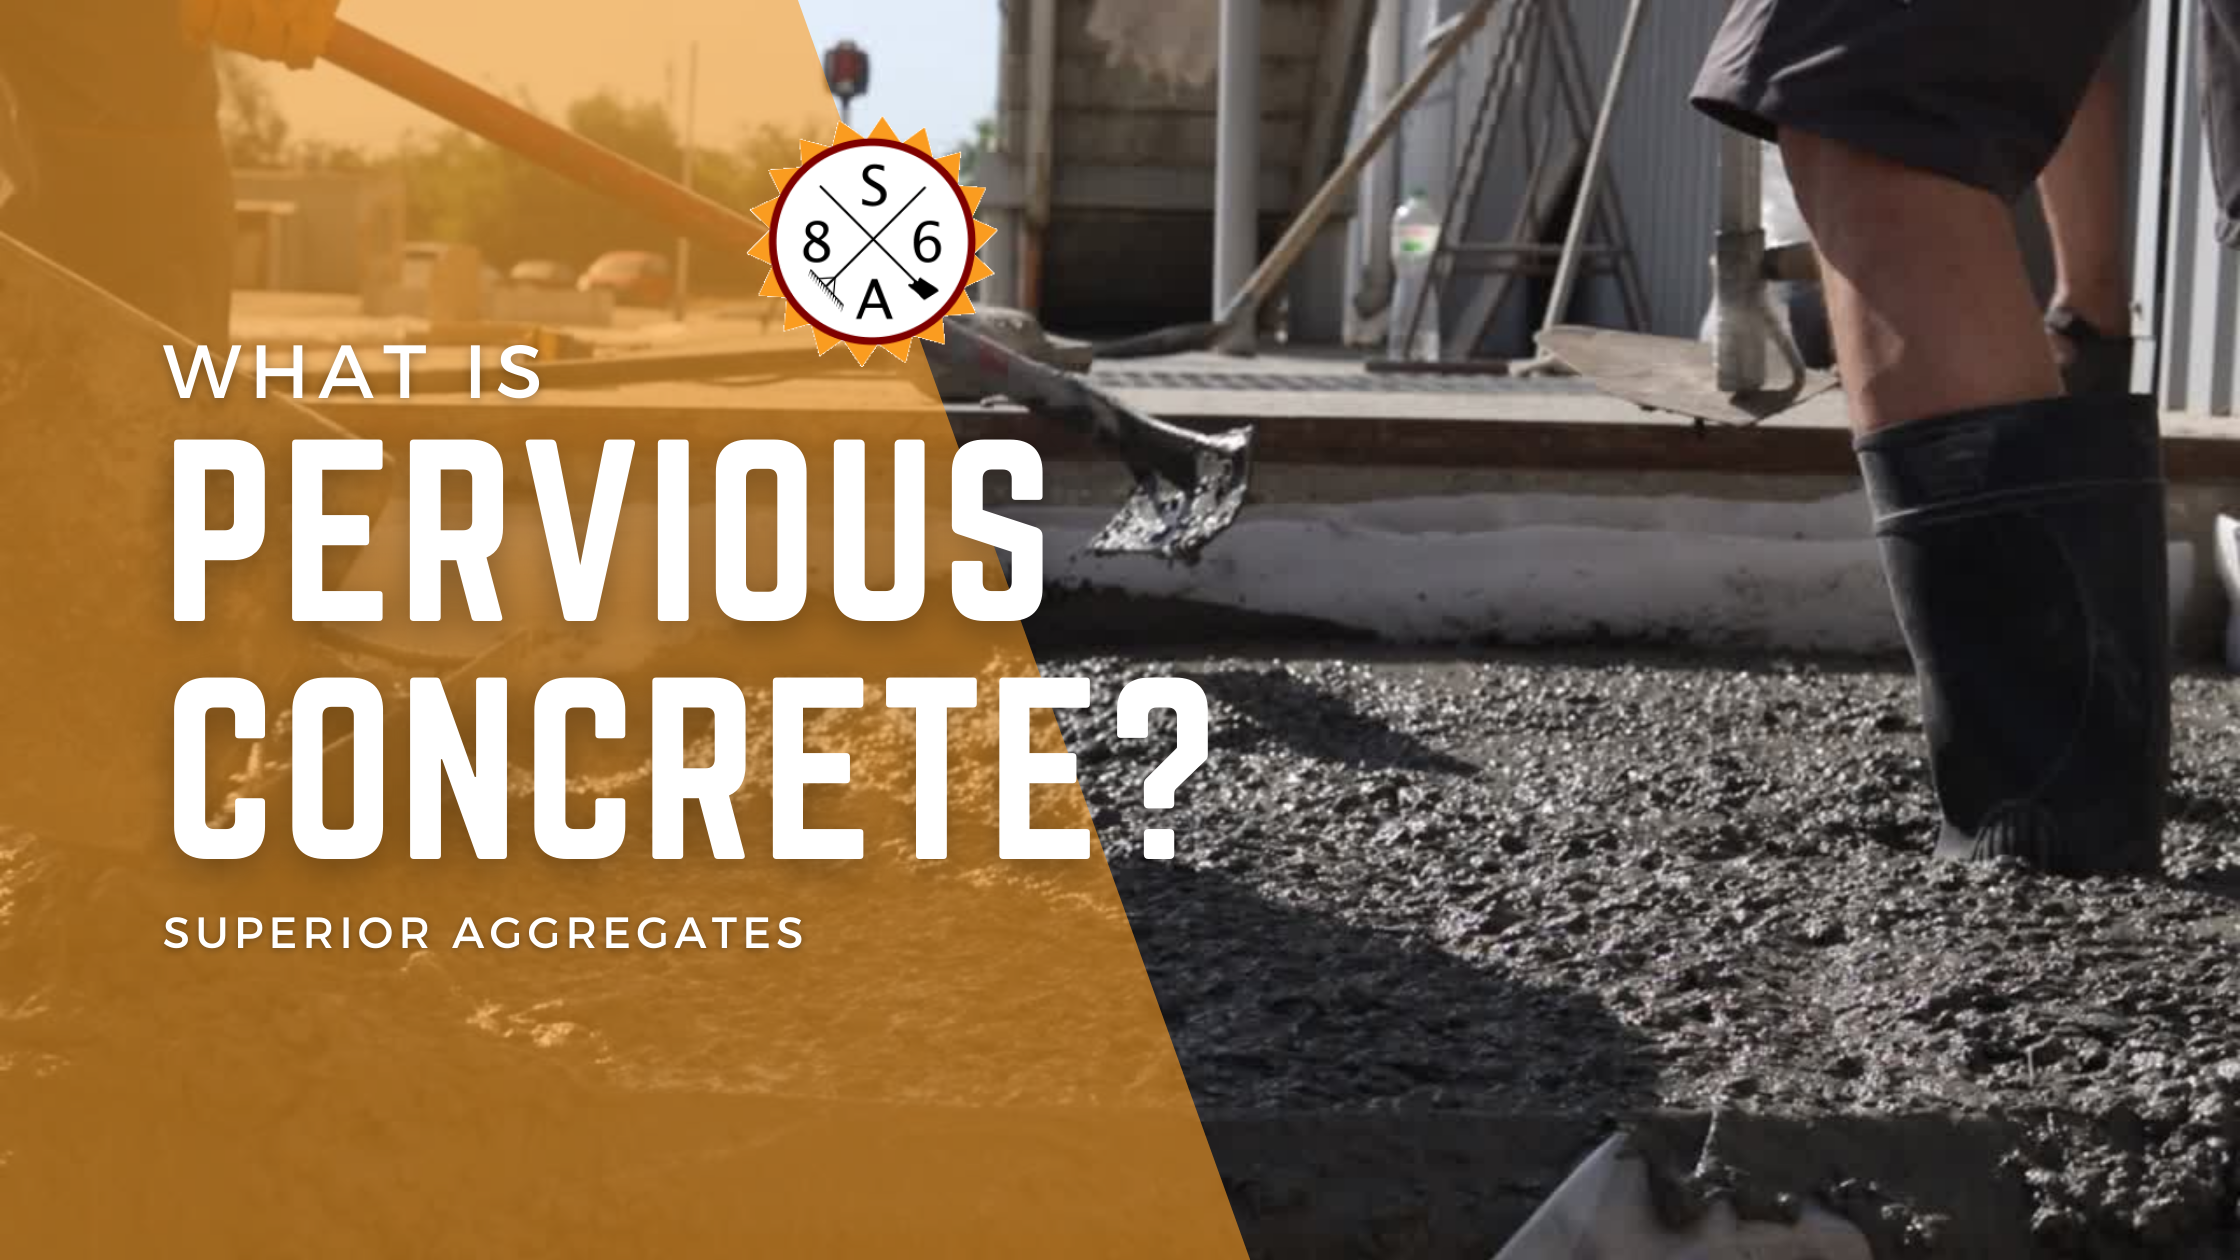
Pervious concrete is just as the name implies – it’s a pavement application that allows stormwater through it so that it can seep into the ground. It’s made in a similar fashion to standard concrete, but without sand or water. Excluding sand and water in the mixture...