Jun 25, 2021 | Construction
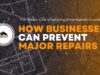
Commercial sidewalks are identified by their colossal pedestrian volumes, active ground floors, street-facing entrances, spillovers of commercial activity, and loading-related activities. They are mostly found on commercial streets, which vary in size from significant...
Mar 31, 2021 | Asphalt Paving
Do you have concrete on your property? Would you like to prevent it from cracking? One of the most common complaints business owners have is that their concrete is starting to crack. They may think that the initial contract or may not have done a very good job;...
Feb 17, 2021 | Hauling & Delivery
Superior Aggregates is one of Colorado’s most experienced aggregate suppliers and now offers timely delivery services. We can deliver what you need, whether the task is paving an entirely new road, patching and repairing and old one, or installing a new landscaping...

Dec 30, 2020 | Construction
If you are reasonably handy with power tools and understand the importance of getting a project level and square, building concrete steps can save you a few dollars. As DIY tasks go, concrete steps can be somewhat labor-intensive. But with the right tools and by...
Dec 15, 2020 | Asphalt Paving
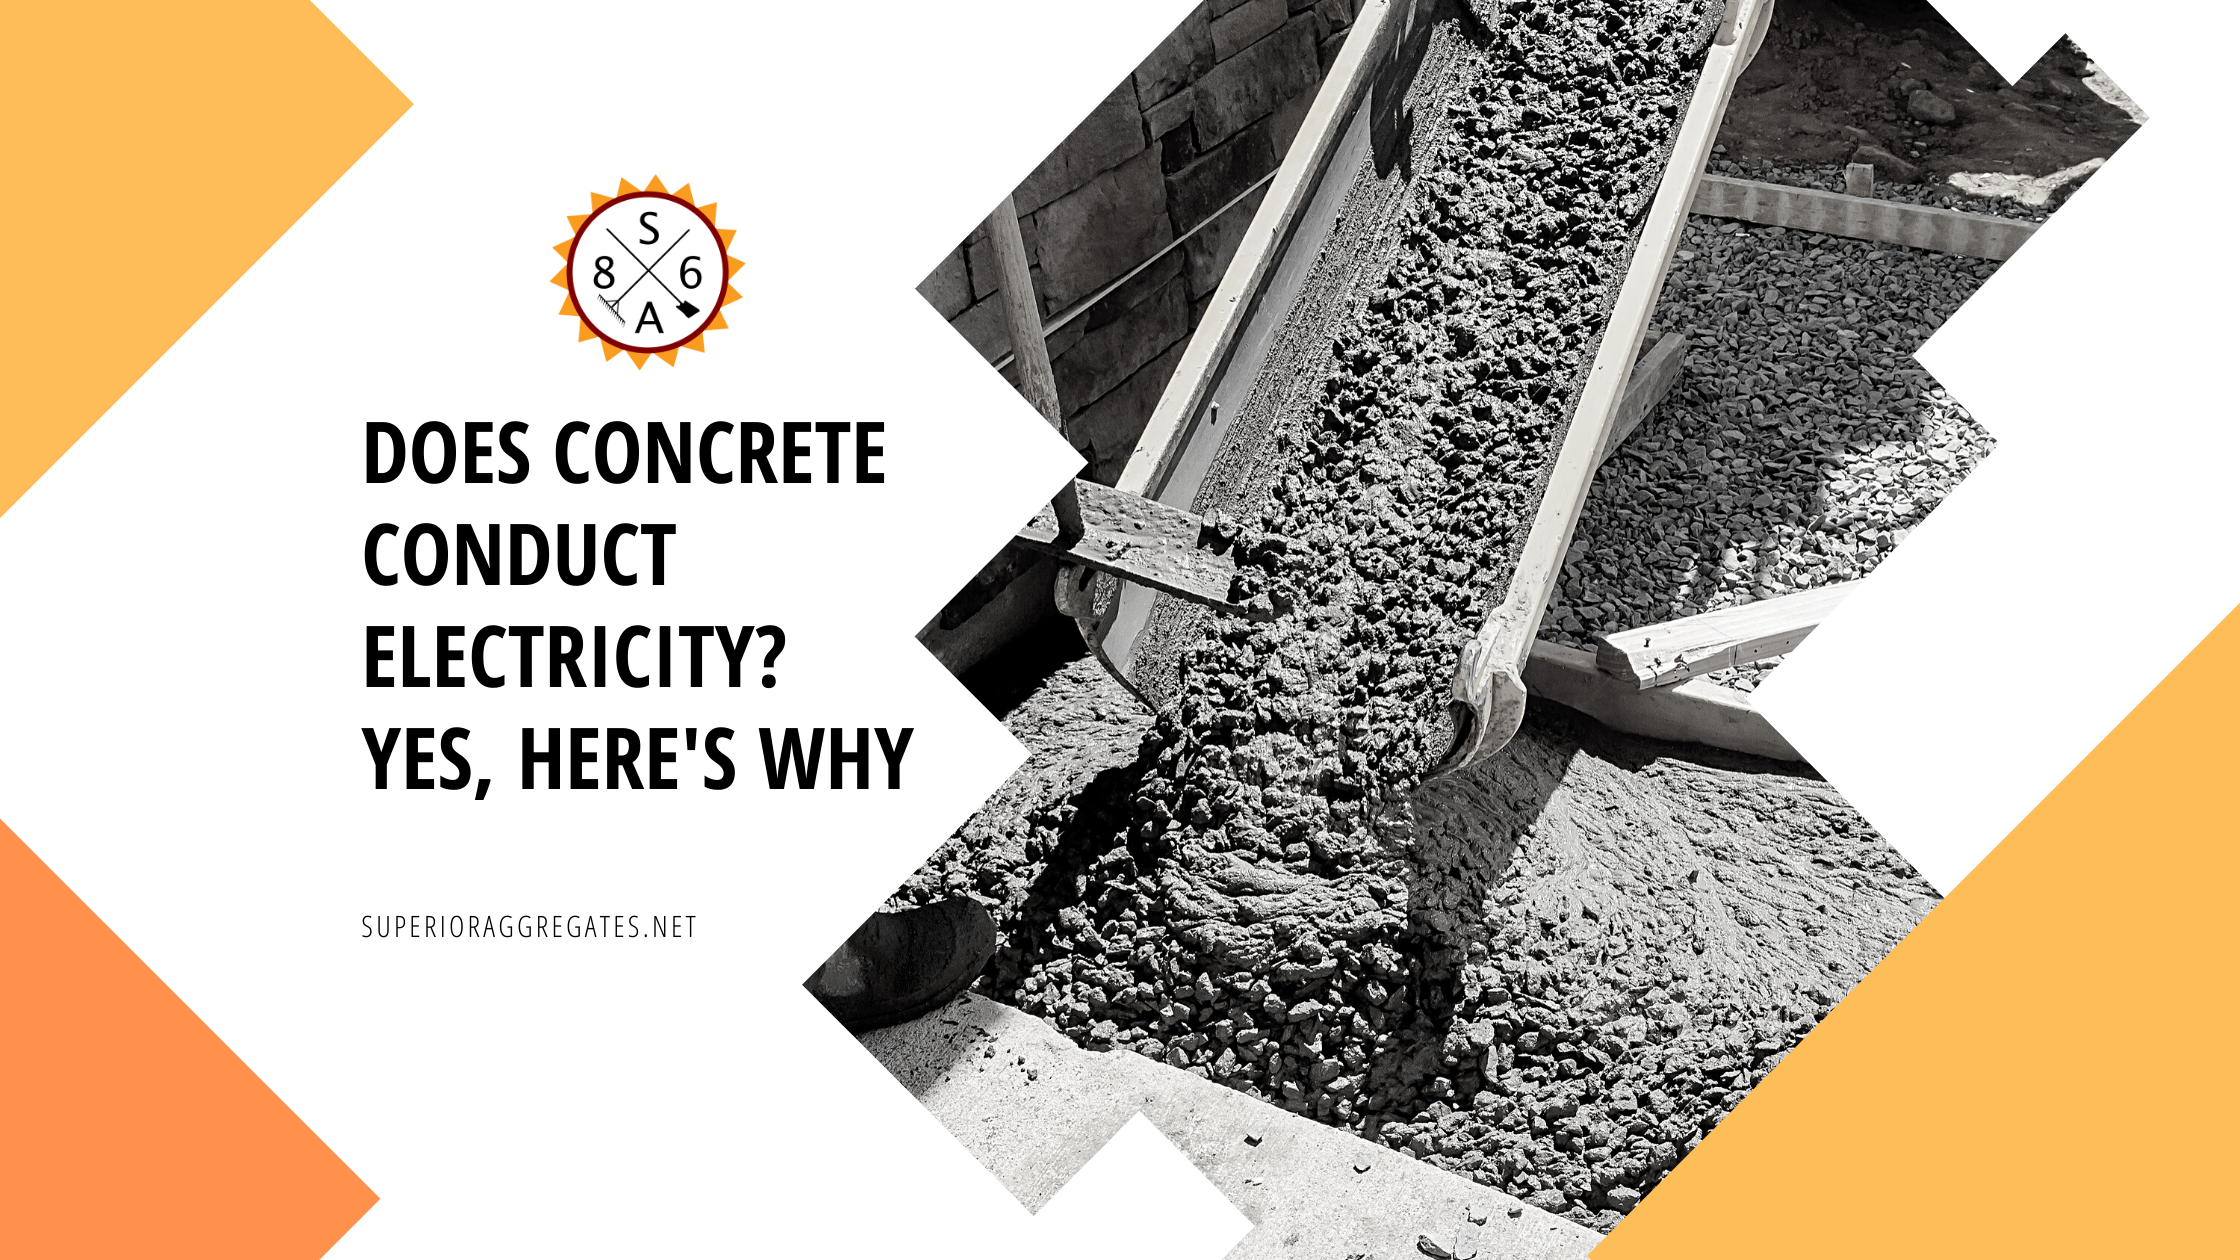
People generally don’t consider what conducts electricity, as long as they don’t suffer the results of the conductivity. People are aware that metals and even the ground move electricity. Concrete electricity, on the other hand, is outside the box for all...