
Nov 17, 2023 | Asphalt Driveway
When people think about making investments to their home that will ultimately improve the resale value, their mind usually goes directly for a few specific types of projects. Naturally, you’ll want to make sure areas like the kitchen and bathroom are updated...
Aug 15, 2023 | Asphalt Paving
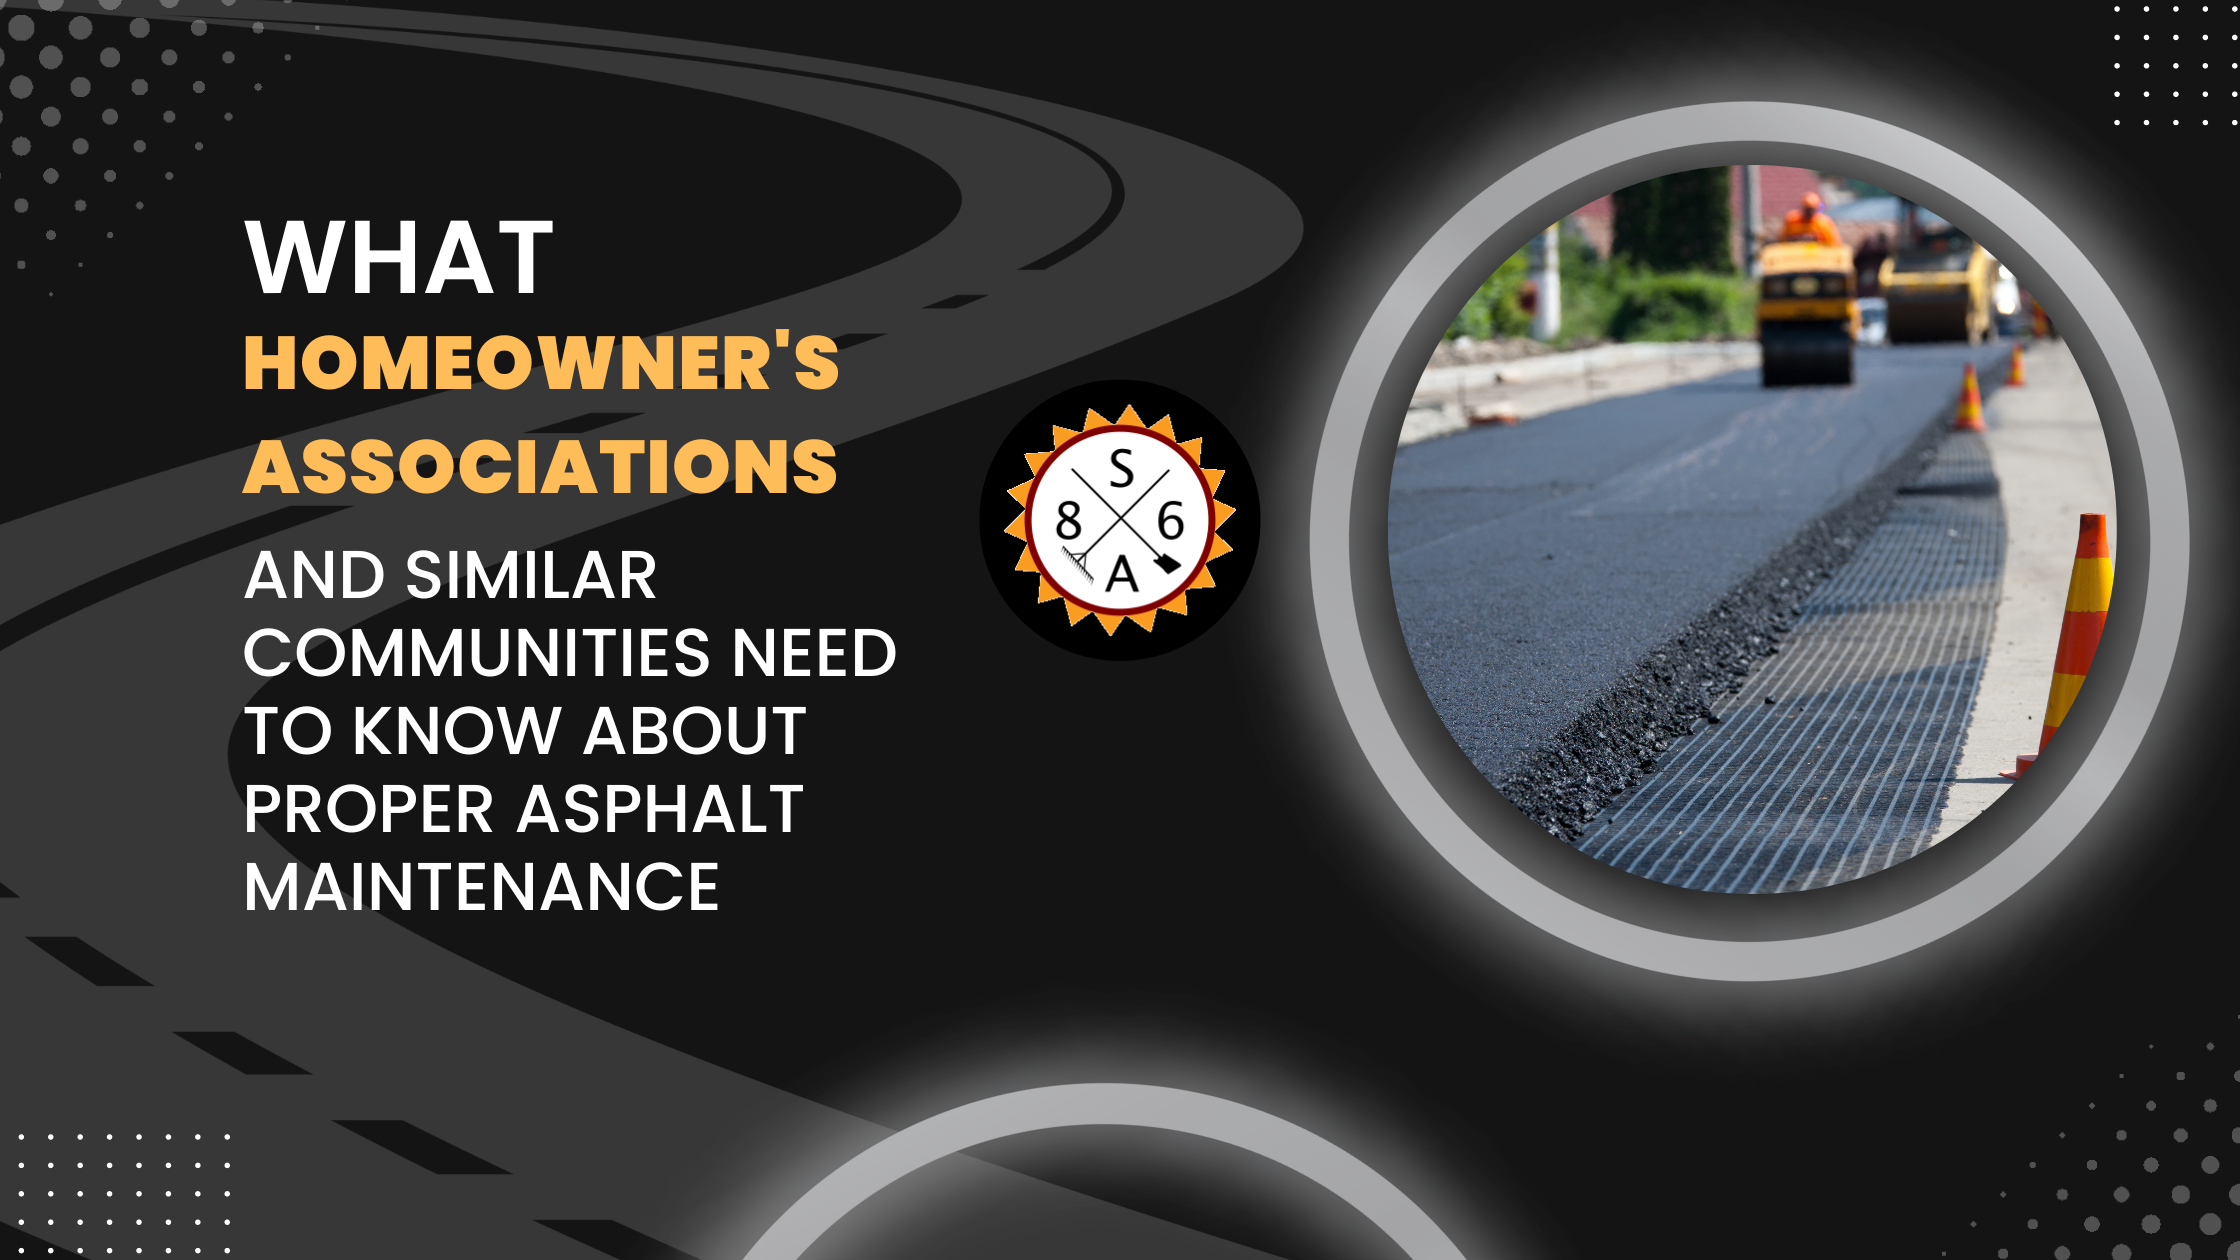
Many choose to move into an area with a Homeowner’s Association thanks to the wide range of different benefits that come with it. Not only is an HOA tasked with managing shared property, but it also provides essential services to residents that help maintain...

Aug 1, 2023 | Asphalt Paving
Asphalt companies have made a significant contribution to our nation’s transportation system by paving roads that are cost-effective, safe, and can withstand the harsh cycles of freezing temperatures. Without asphalt roads that feature a dark surface which...

Jul 17, 2023 | Asphalt Paving
An asphalt driveway or parking lot can last for years, but eventually you will need to contact an asphalt company for a replacement or repair. Asphalt gets damaged over time from temperature extremes, general wear and tear, spills on the asphalt, and when equipment is...

Jun 28, 2023 | Asphalt Paving
While it’s true that asphalt pavement and other surfaces are inherently durable, that doesn’t mean that you can go years without routine maintenance and expect to avoid issues. As is true with all types of surfaces, you need to take proactive steps to stop...