Jul 19, 2021 | Asphalt Paving
If your asphalt is beginning to show signs of wear, age, or disrepair, it is important to repair the issues in a timely manner. If you fail to do so, the problems within your asphalt surface may worsen. What may have started out as a simple fix may turn into a major...

Jun 15, 2021 | Construction
If you are looking for someone who can help you with your upcoming concrete project, you have multiple options available. You might be considering working with a subcontractor or a commercial concrete contractor. What is the difference between these two options? What...
May 27, 2021 | Asphalt Paving, Construction
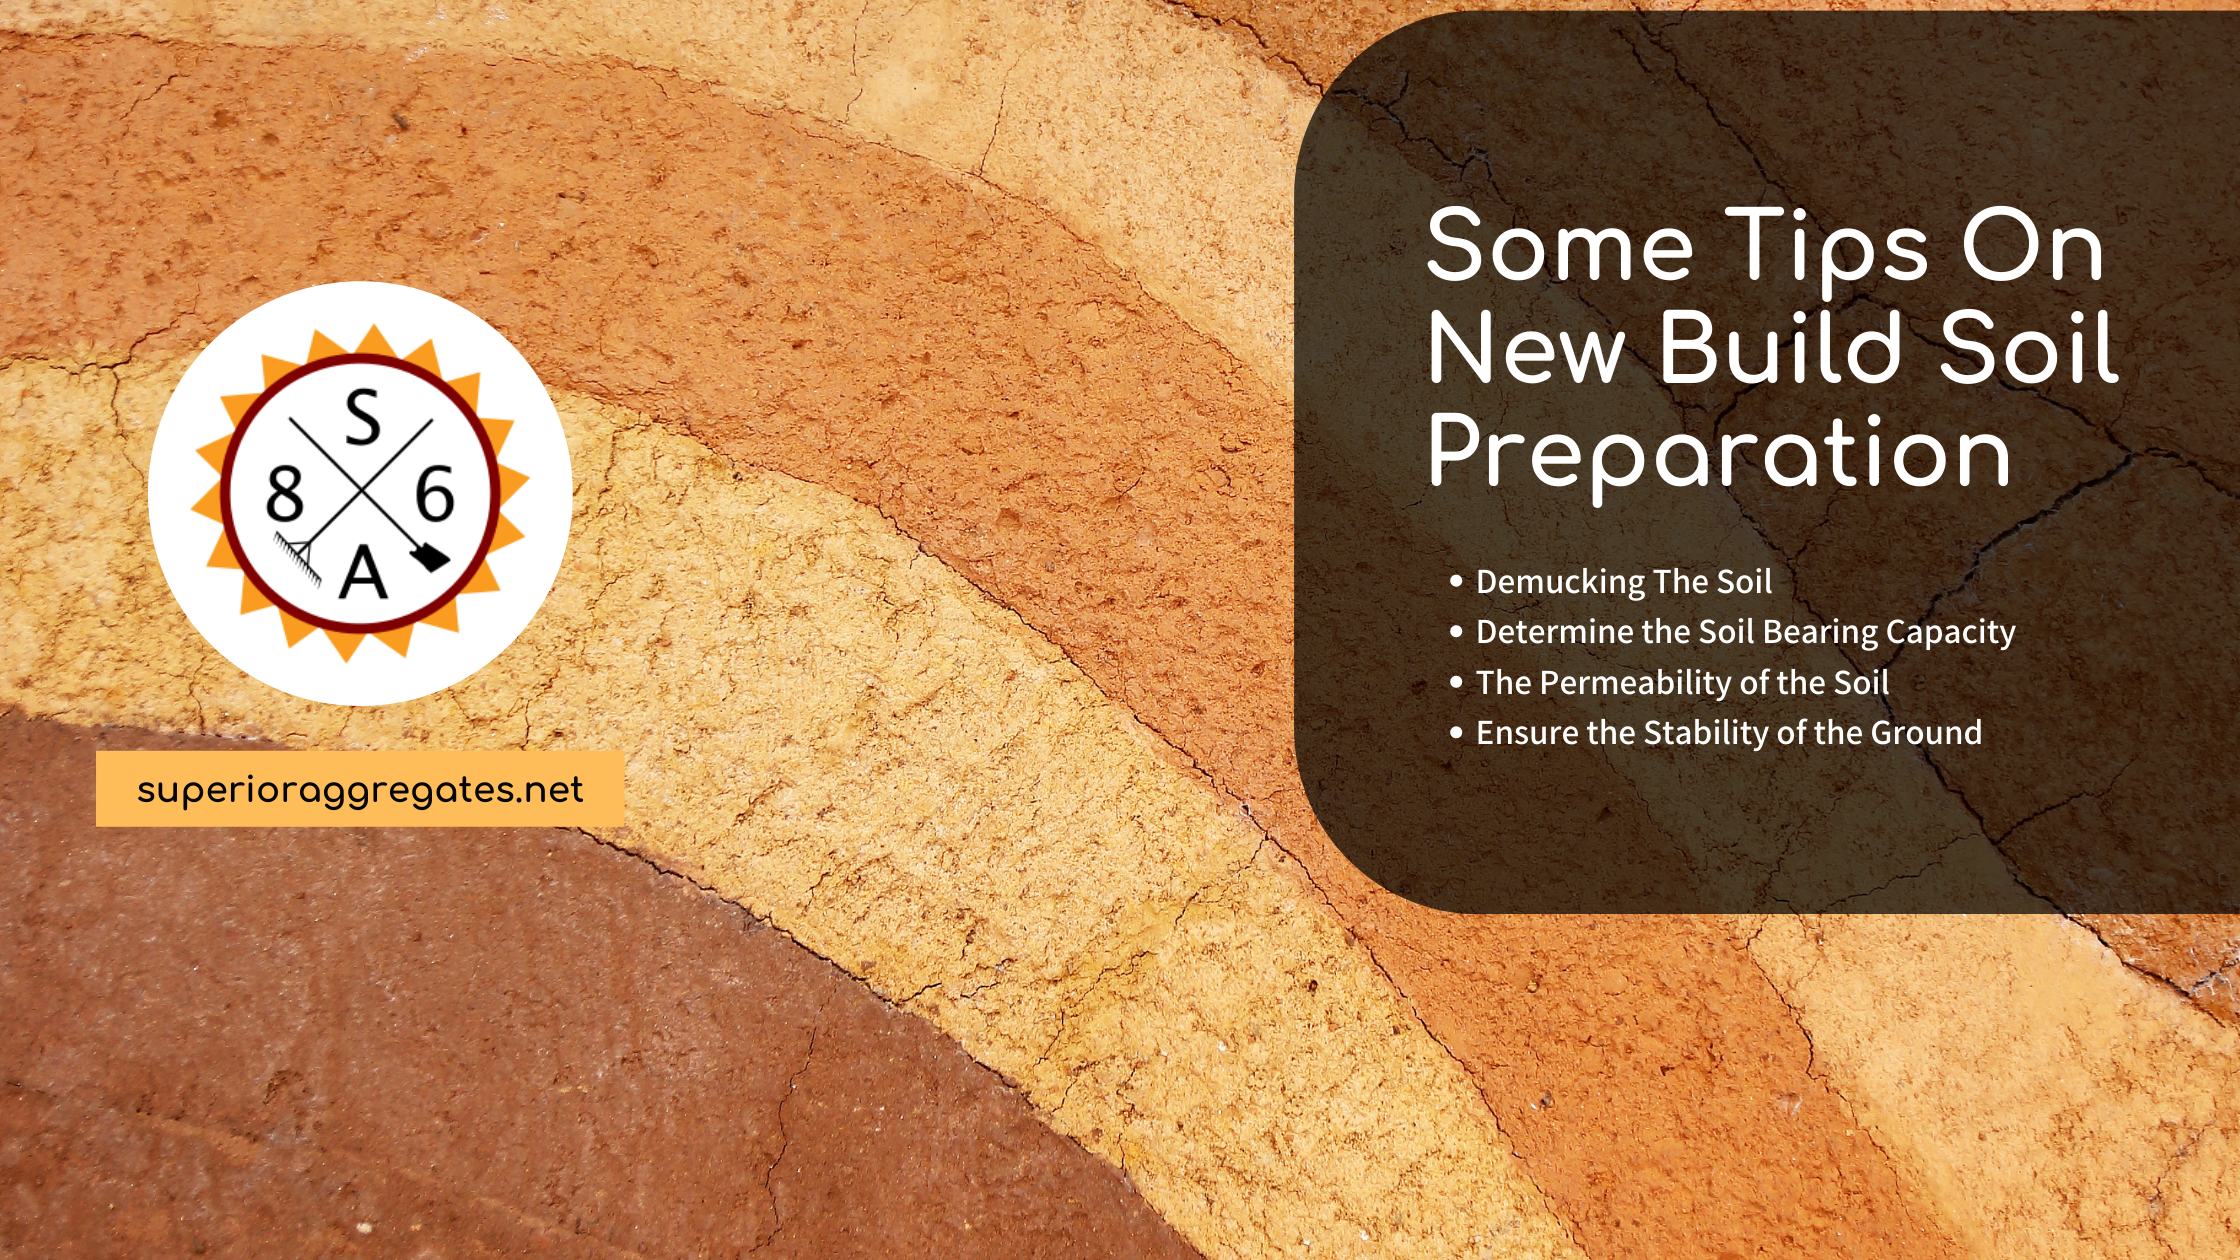
If you have a new project coming up, you are probably excited; however, you need to make sure the ground is ready to support the new project. One of the most important things you need to think about is the dirt on which the property will go. If the soil has not been...

Apr 30, 2021 | Construction
As you drive down the road, you may not spend a lot of time thinking about who was responsible for building them. At the same time, the safety, security, and quality of our roads are tremendously important. What would happen if our roads were not well-maintained? You...

Mar 17, 2021 | Asphalt Paving
Are you interested in creating a concrete mold by yourself? You need to make sure that you know how to do this safely. Furthermore, you also have to have the right materials. What are the steps that you need to follow if you want to successfully build a concrete mold?...