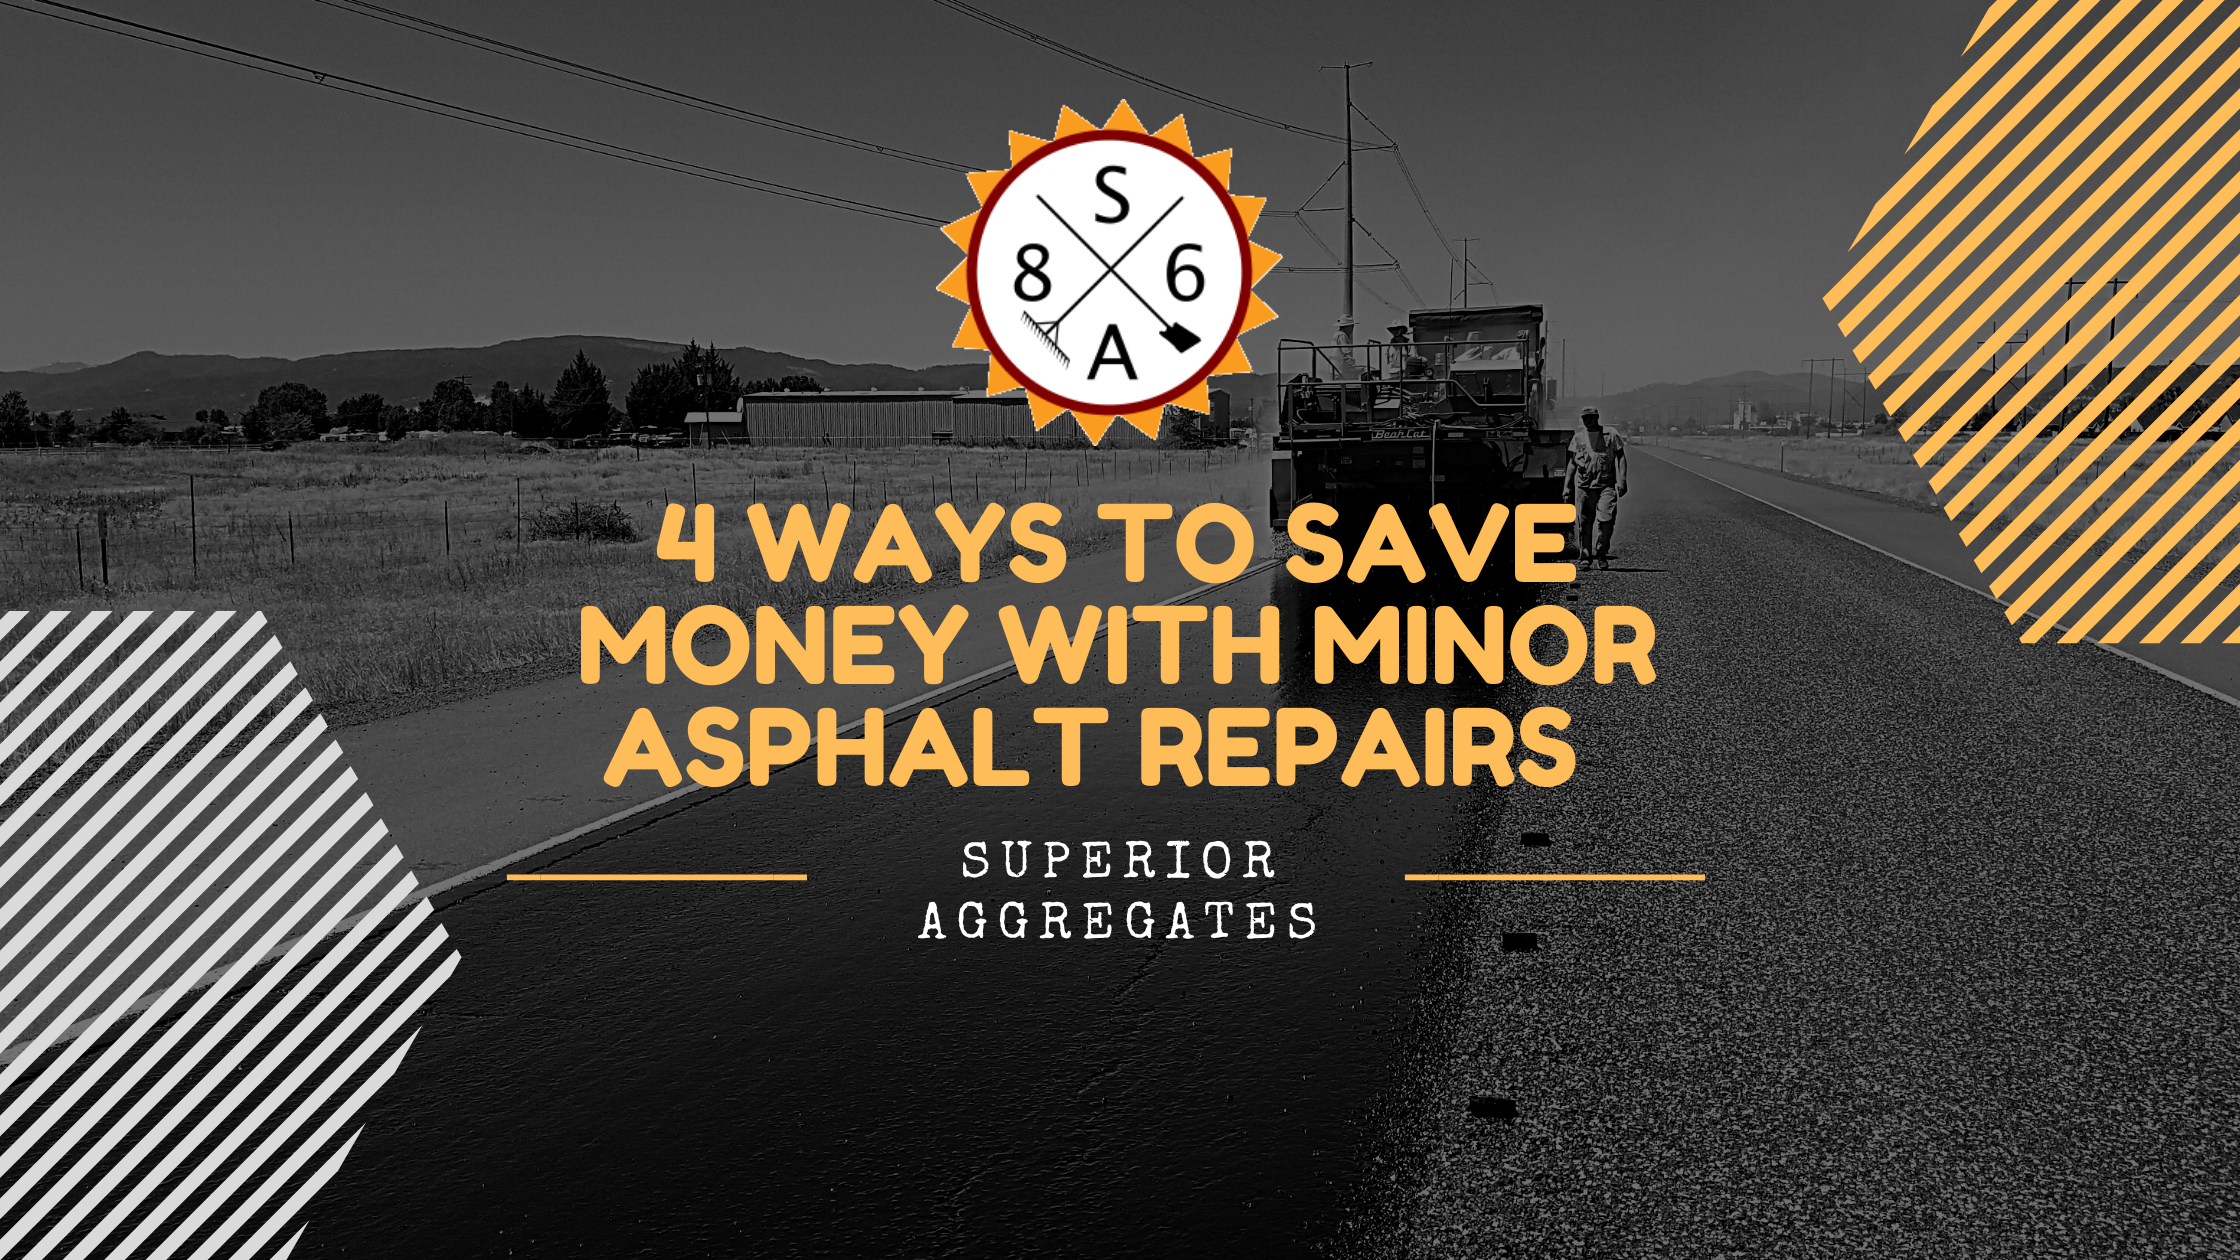
Dec 30, 2021 | Asphalt Paving
For asphalt driveways or parking lots, leaving cracks and holes unrepaired can make the asphalt susceptible to crumbling and erosion, resulting in issues that require costlier repairs down the line. To save money on asphalt repairs now and in the future, try these...

Dec 15, 2021 | Asphalt Paving
Chipseal, gravel, and aggregate are 3 excellent options for keeping a firm ground and building sturdy foundations. But, as anyone who has poured the wrong kinds of rocks into a driveway, drainage field, or pool can tell you, the end results can be devastating if you...
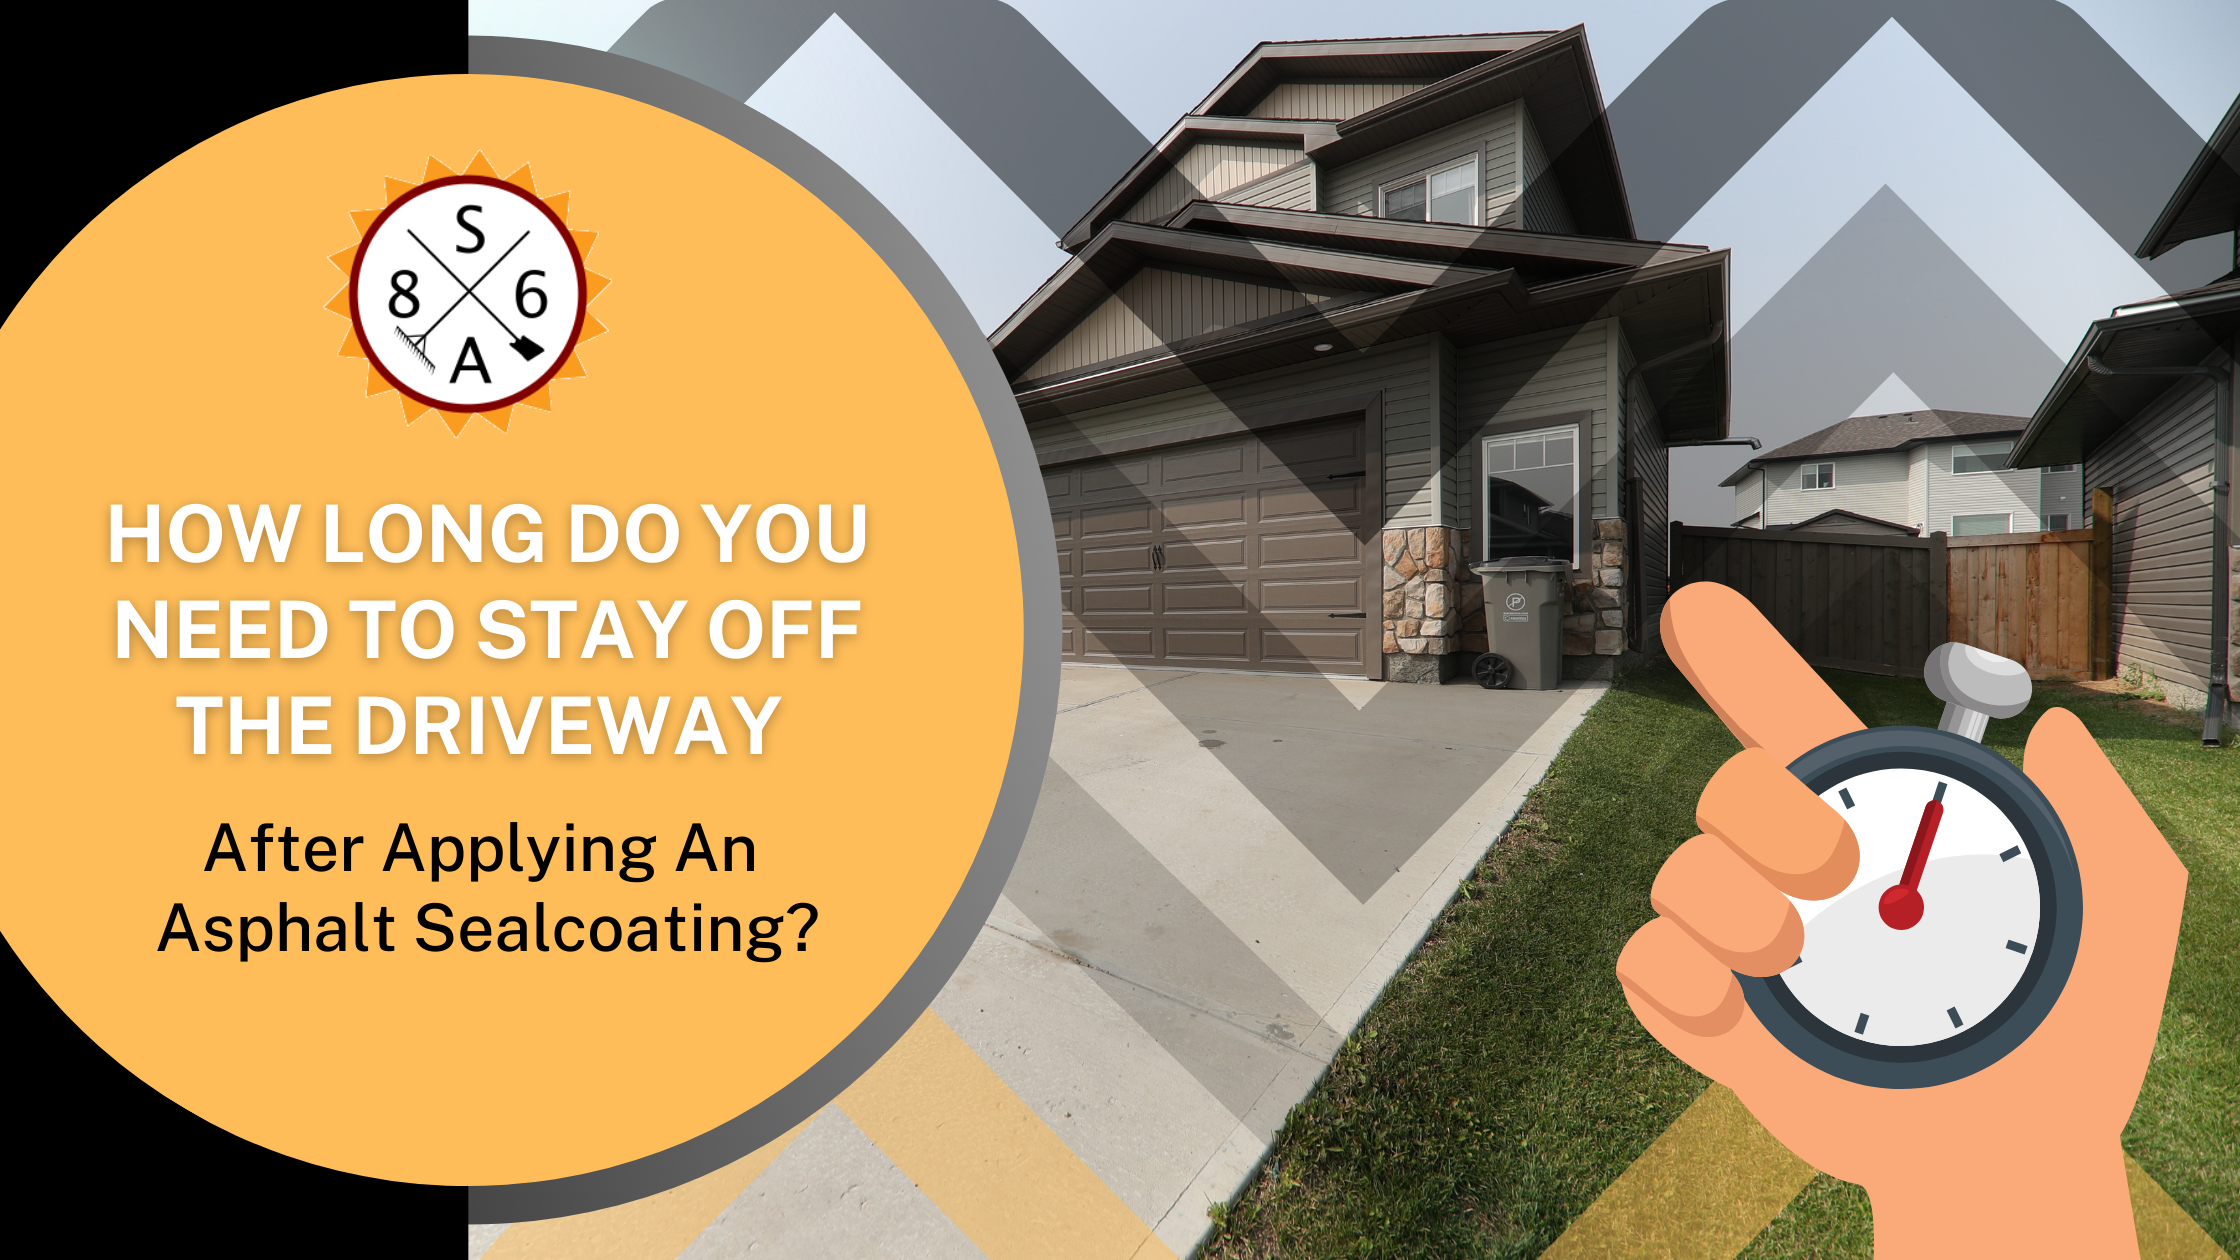
Nov 30, 2021 | Asphalt Driveway, Asphalt Paving
One of the primary questions residential and commercial property owners want to know about applying a driveway sealcoat involves drying times. More specifically, property owners want to know how long after an asphalt sealcoat has been laid down can they resume usage....
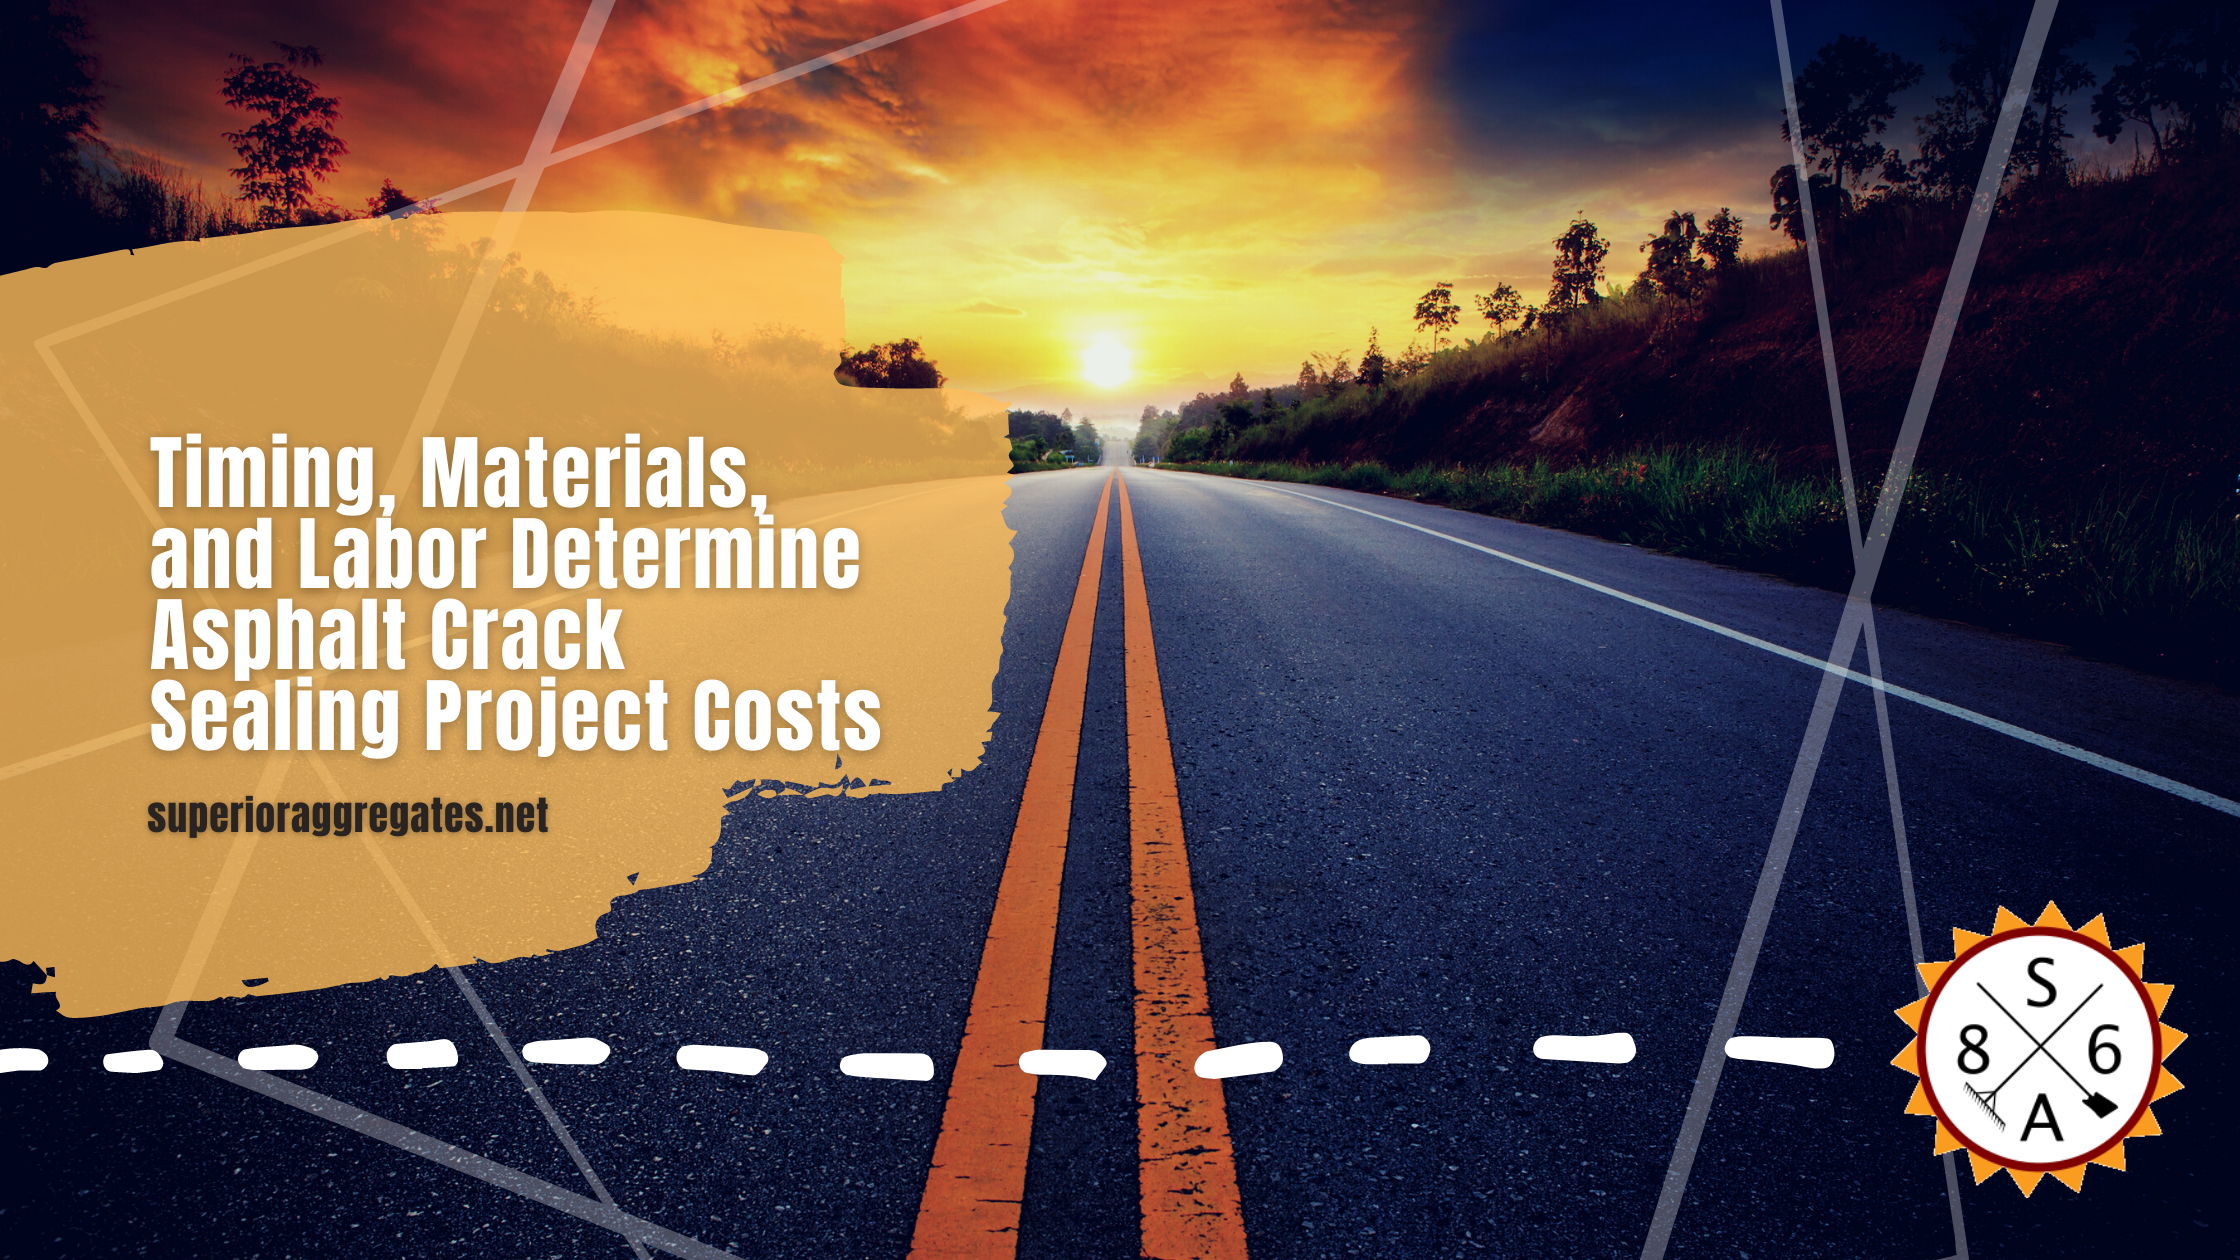
Nov 16, 2021 | Asphalt Paving
No property owner wants to unnecessarily spend more money than necessary when hiring a professional to perform asphalt maintenance. Driveways and parking areas typically require asphalt crack repair every 1-3 years to keep them looking pristine and functioning...
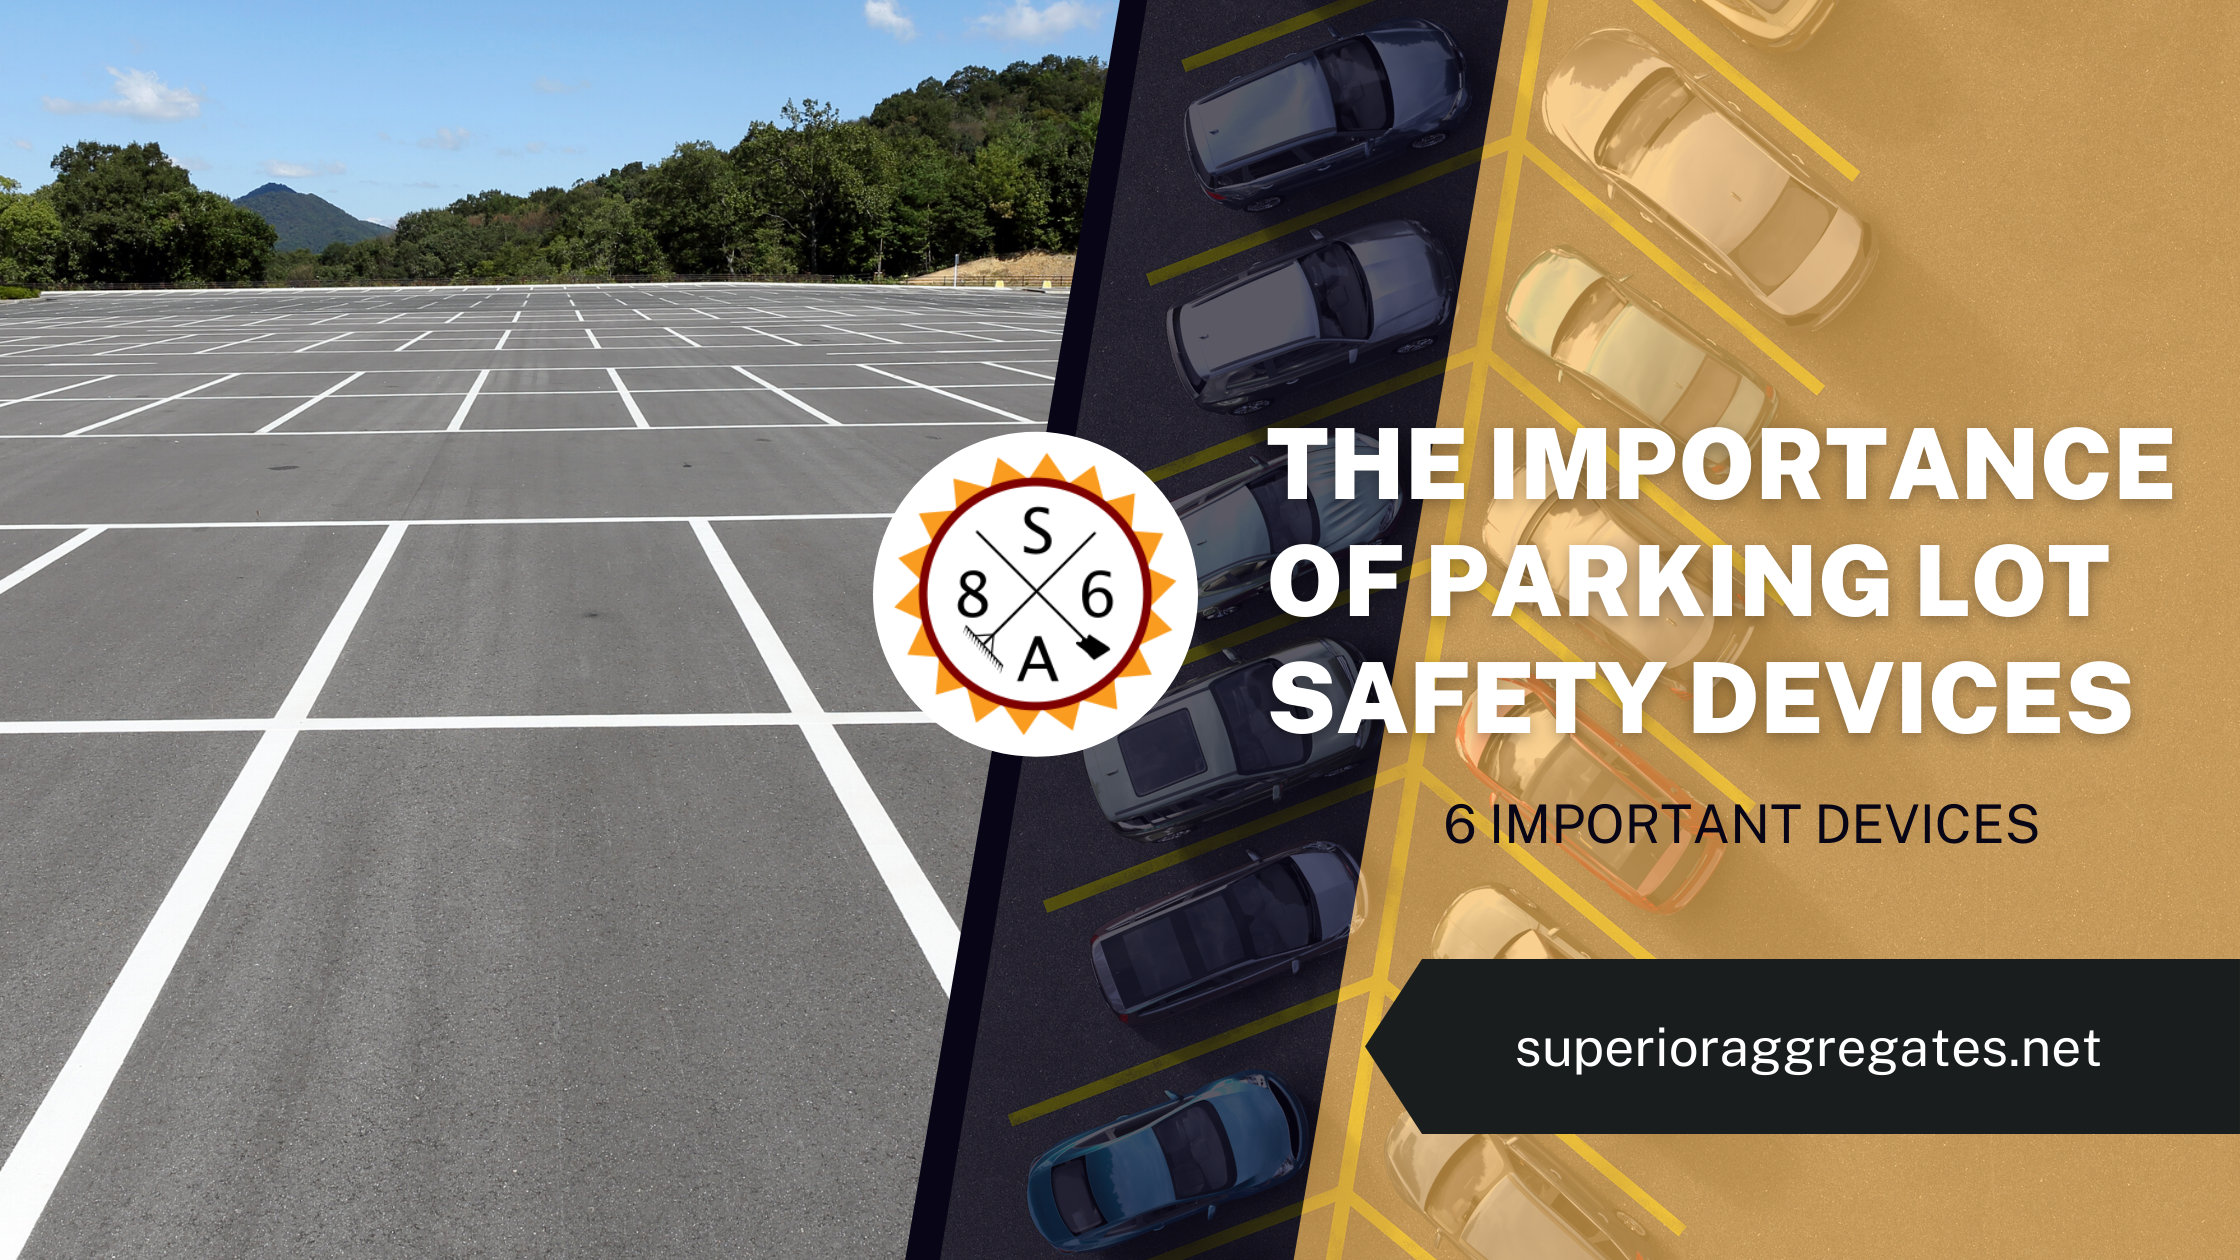
Oct 18, 2021 | Asphalt Paving
Proper Lighting Can Greatly Increase The Safety of A Parking Lot There are many features that you can include to improve parking lot safety. One of these features is proper lighting. Proper lighting makes a parking lot safer for both pedestrians and drivers. With...