How To Build Concrete Steps & Add Value To Your Home

If you are reasonably handy with power tools and understand the importance of getting a project level and square, building concrete steps can save you a few dollars. As DIY tasks go, concrete steps can be somewhat labor-intensive. But with the right tools and by following these steps carefully, you can add value to your property.

1: Gather Your Tools & Materials

You will likely need the following tools and materials to complete a set of concrete steps: a 4-foot level, framing square, circular saw, hammer, wheelbarrow, shovel, concrete edger, broom, tape measure, circular saw, concrete, trowel, 2x lumber, gravel, rubble, and plywood.

2: Take Initial Measurements

Measure the height from the ground to the bottom of the doorway. Now calculate how many steps you will need extending away from the building at 7 inches per step. This is to say, each step is supposed to be no more than 7 inches. If the door threshold’s bottom is 21 inches from the ground, you usually need three concrete steps. If the height can’t be divided by 7 inches evenly, get each step as close as you can. You can make shorter steps, but not taller ones.

3: Set Your Footings

Excavate the ground where the concrete steps will be poured. Layout 2x lumber to form two boxes to pour the footings. Check that they are perfectly level. These should extend about three inches wider than your steps. As the concrete starts to harden, insert rebar into the footings so that it sticks up about 6-8 inches. Fill the center space with gravel.

4: Build A Frame

Measure and cut two plywood sections to mirror the sides of the concrete steps, based on your measurements. Set one on each footing with 3 inches protruding at the bottom. Check that they are also level. Cut 2x materials to create the face of each step, not the part you would walk on. Hammer them in place. Cut a 2×4 to create a brace. This typically is one length that extends from the ground and over the steps. Attach shorter braces — called cleats — that point down and support each step o the front. Hammer the last cleat into the ground and attach the long length to ensure it stays in place. Check to make certain your concrete steps will all be level, and the form is square.

5: Fill In The Form

Consider using stones, bricks, or cinderblock pieces to fill up a portion of the form. This will cut down on the amount of concrete needed. This strategy also tends to alleviate some pressure on your forms when the concrete is poured. Save room to insert lengths of ½-inch thick rebar about 3-4 inches below the concrete steps’ surface.

6: Fill With Concrete

Mix your concrete in the wheelbarrow and shovel it into the concrete steps form. It’s essential to prepare a firm but moist concrete mixture. This will help prevent leakage, reduce the hardening time, and allow you to manipulate it effectively.

7: Detail Your Concrete Steps

Use the edger to enhance the outer areas’ appearance once the concrete is fairly hard. Then take the broom and add traction lines to the spaces people will place their feet.

8: Remove Forms

Concrete steps usually take 12 to 24 hours to cure. Once the concrete has hardened, remove the forms. A flat tool such as a trowel may prove effective. Keep in mind that hard impacts or prying from tools such as a crowbar can damage the steps.

Concrete steps require some muscle to build. While handy homeowners can save a few bucks on labor, a masonry contractor may be worth considering.

DOES CONCRETE CONDUCT ELECTRICITY? YES, HERE’S WHY

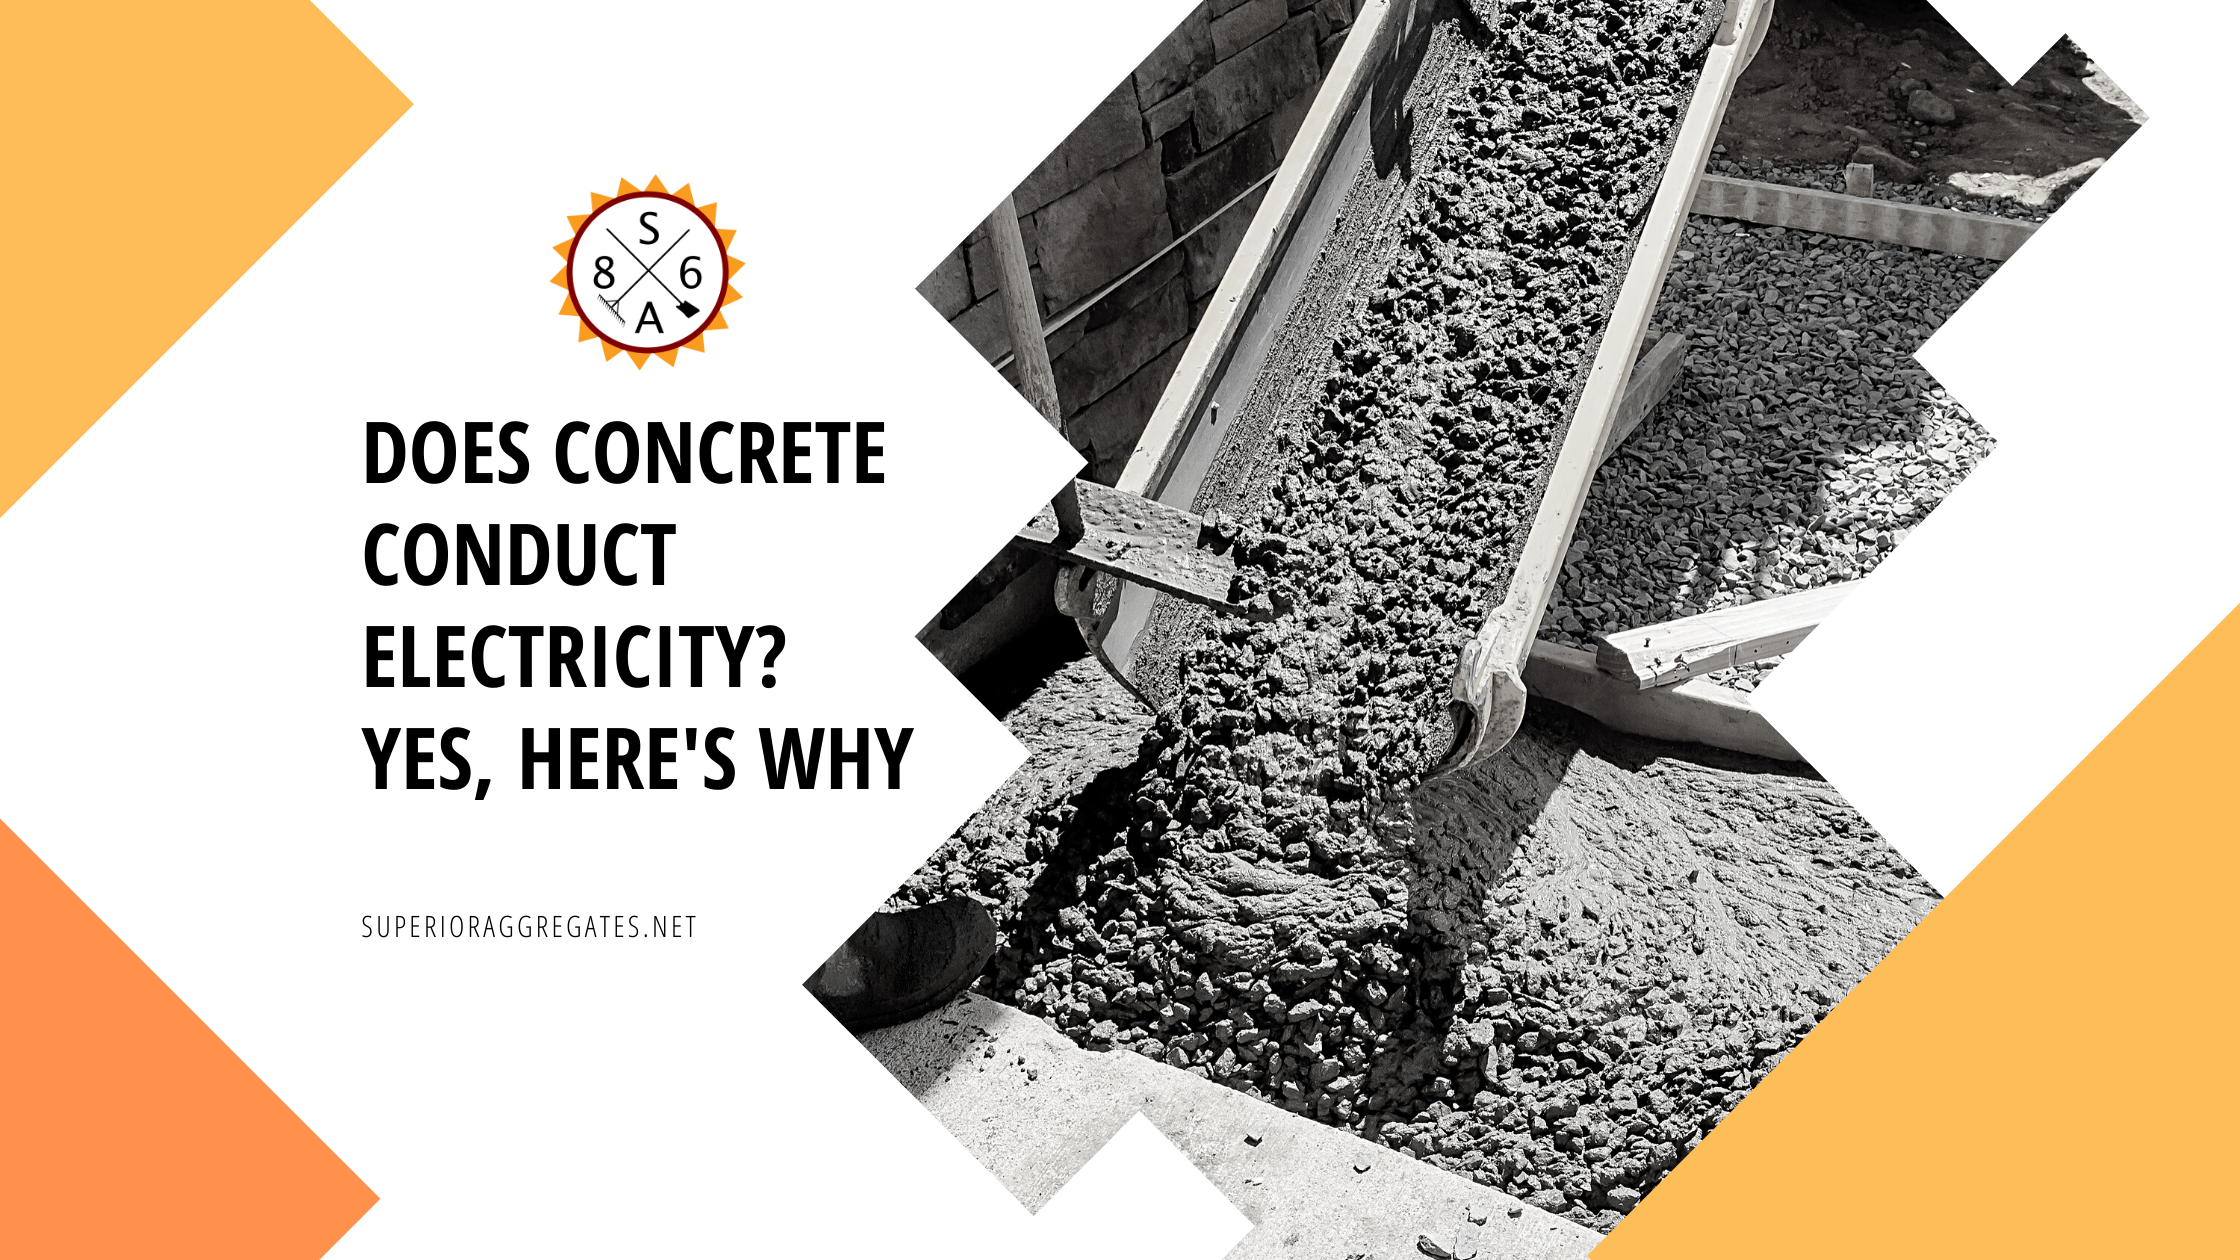
People generally don’t consider what conducts electricity, as long as they don’t suffer the results of the conductivity. People are aware that metals and even the ground move electricity. Concrete electricity, on the other hand, is outside the box for all but civil engineers, the military, and other such professionals. How does concrete move electrical currents?


What Is Concrete?


First, it’s important to understand how concrete is made. Many consider concrete and cement interchangeable. However, they are two completely different things. Cement is composed of crushed stone, shells, and other aggregate with chemical compositions of iron, calcium, and more. These things harden when combined with water to make cement.


Concrete is made when finely ground cement is added to things that have no chemical presence such as sand, gravel, and rocks. These act as a binder when mixed with water. It then hardens, forming concrete. How do these conduct electrical current?


How Does Concrete Conduct Electricity?


Completely dry concrete doesn’t conduct electricity; in fact, it insulates instead. When wet, concrete electricity has some verity, but not much. To conduct electricity, the ions in the elements of the cement have to be free to move.


That happens when the concrete is wet. The resistance of the concrete is conducive to the movement of these ions. Thus, on wet days, the ions move about with their electrical current in tow. The same is true of any wet material including wood.


How Can Concrete Become More Conducive?


To facilitate the movement of the ions more freely, something must be added to the concrete to make it more conducive. Since metal carries electrical current very well, adding steel and/or carbon fibers to the mix makes the concrete electrifying.


Would Concrete Electricity Be Attractive To Homeowners?


An overlay of conducive concrete is lighter than conventional concrete. Its electromagnetic properties protects smart homes’ connections as well as computers against hackers. Its warming properties use existing lines and is compatible with AC current in a 120 volt plug. It protects homes against lightning strikes.


Additionally, what homeowner doesn’t grumble when faced with shoveling the walkways and driveway in a snowy winter? Electrically charged concrete eliminates this chore. It removes the threat of deicing and salt products to the environment and wildlife. Walking across an electrically charged surface, though, won’t harm the walker.


There could be some benefit in conducive concrete due to its stability and bonding properties. In other words, storms won’t knock out the computers or other electronics. There will be no need for surge protection.


Final Thoughts


When people think of conducting electricity, they think of copper wires, aluminum buildings, and not swimming in a storm. Concrete never even crosses their consciousness.


However, it’s a great answer for homeowners seeking stable and conductive building materials. Its benefits to homeowners especially could save money and provide protection from Nature’s fury as well as from those with nefarious intent.

Effects of the Colorado Cold on Asphalt

Effects of the Colorado Cold on Asphalt

With the temperature starting to drop outside, there are a lot of people in Colorado who are wondering how this is going to affect their pavement. Cold weather and freezing precipitation can damage asphalt without proper preparation. Therefore, by understanding how cold weather can impact asphalt, you can prevent damage from happening. Take a look at some of the helpful information that we have put together below!

Freezing Temperatures Cause the Asphalt To Contract

First, the freezing temperatures are going to cause the asphalt to contract. This means that the molecular structure of asphalt is going to become tighter. As asphalt contracts, cracks may start to form on the surface. If cracks form, this is going to shorten the life expectancy of asphalt. Because it is so cold outside, it is possible that repair processes will be less effective. Therefore, it is a good idea to do everything possible to ensure the integrity of the surface before the temperature starts to drop.

The Impact of Rock Salt

Anyone who has lived in the Colorado area has probably seen rock salt all over the roads. It is possible that rock salt might also damage asphalt. Rock salt is made out of sodium chloride. Sodium chloride can accelerate asphalt deterioration as precipitation freezes and thaws throughout the winter. As a result, this could shorten the lifespan of concrete and asphalt paving materials as well.

Winter Weather Can Impact Asphalt

During the winter, hail, snow, and freezing rain are all common in Colorado. All of this has the potential to damage asphalt. As ice, sleet, and range strikes the surface, it often freezes overnight. When it freezes, it impacts the molecular structure of asphalt, leading to damage. Then, even though it thaws during the day, it may refreeze during the next night, creating more damage. The good news is that there are specialized types of asphalt, such as porous asphalt, that can withstand this type of precipitation.

The Impact on the Paving Process

Cold weather is also going to impact the paving process. Paving during winter months is a bigger challenge than during the warmer months; however, it is not impossible. During the winter, asphalt tends to dry much faster than it does during warmer months. Wind speed, air temperature, and surface temperature all play a role in how quickly asphalt dries Therefore, it is important for asphalt pavers to use specialized tools that are able to get the asphalt in the proper position quickly before it dries.

Preventing Asphalt Damage During the Winter

Finally, it is also important to address asphalt damaged during the winter. Proper maintenance of all asphalt surfaces is critical. By sealing asphalt properly, this will create a surface layer that will provide consistent protection from winter weather and cold temperatures. By limiting the damage of precipitation during the winter, it will extend the lifespan of asphalt by preventing holes and cracks from forming.

Rely on the Help of Trained Professionals from Colorado Asphalt Companies

These are just a few of the most important points that everyone should keep in mind if they are looking for Colorado asphalt companies. We are here to make sure that you get the most use possible out of your asphalt. Give us a call today to learn more about the impacts of winter weather on asphalt!

Landscaping Projects with Sand & Gravel Delivery

If you are thinking about conducting a landscaping project in your yard, they need to make sure that you have the right material. Two of the most common options that can help you get your landscaping project underway are sand and gravel. At the same time, sand and gravel come in many different shapes and forms. Therefore, you need to make sure that you understand the option so that you can make the right decision to meet your needs. Take a look at a few of the options below.

Utility Sand

One of the most common options is called utility sand. Also referred to as fill sand, this sand is rather coarse in its texture. It is a mixture of several particles including tan, white, gray, and brown. The most common use of utility sand is underneath paving stones. For example, this is a common material that is used to cushion concrete. Utility sand packs particularly well even though it is not processed at all. Even though it is not the softest sand, it is commonly found in numerous yard landscaping projects.

Beach Sand

Another option you might want to go with is called beach sand. Beach sand is incredibly fine in its texture. It is very similar to what people see on their vacation. Some of the most common locations of beach sand include playgrounds, volleyball courts, and even sandboxes. For this reason, it is commonly referred to as play sand. It is free of silica and safe for children to play in. For those who want a soft spot in their backyard, beach sand is a good choice.

Masonry Sand

Another option that might be helpful in backyard Landscaping projects is called masonry sand. Also referred to as white sand, this and comes in tan, gray, white, and beige colors. This is a clean sand that is usually used to create concrete or mortar. Masonry sand is also commonly found underneath bricks, blocks, and stones. It is much easier to work with than utility sand, which may make it less expensive. Masonry sand is also commonly found under patio and deck construction. Finally, masonry sand can also be used to create clean, white lines between bricks or blocks, which some homeowners like in their landscaping projects.

Decomposed Granite

Finally, those who might want to go with gravel instead might have heard about decomposed granite. Decomposed granite is commonly found in yard landscaping projects. In some cases, decomposed Granite can be found in the flowerbeds and around bushes, covering up the soil. In other situations, decomposed Granite could be used to line walkways and pathways. Decomposed granite can be a cost-effective alternative to traditional landscaping options. As a result, it is not unusual to see decomposed granite around flower beds and walkways. At the same time, it is not the most comfortable playing surface. Therefore, decomposed granite should not be used around sandboxes, playgrounds, or other places where children might be running around.

Choose the Right Sand or Gravel for the Landscaping Project

For those who were thinking about adding a landscaping project to the yard, it is important to come up with the right material. There are multiple types of sand and gravel available. Anyone who has a landscaping project in the near future for their yard should consider reaching out to trained professionals who can help them with sand delivery and gravel delivery before the project starts!

What Type of Concrete Is Used for Driveways?

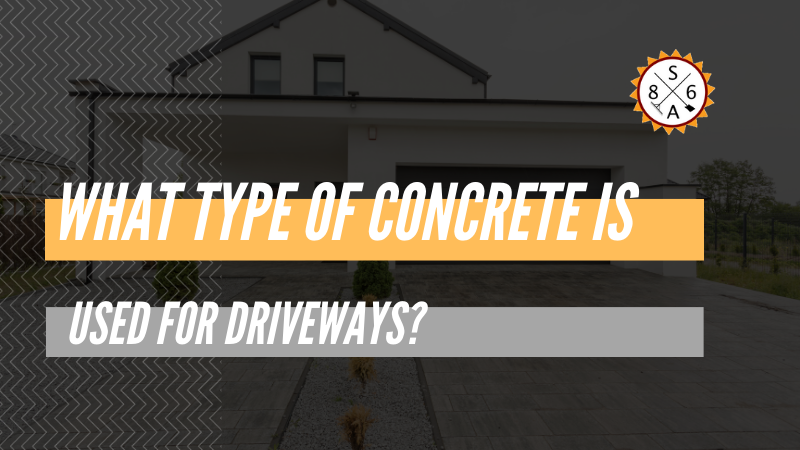
If you are thinking about adding a driveway or repairing your current one, then you are probably wondering what type of concrete is going to be used. The reality is that there are many different types and mixes of concrete. Therefore, the right mixture for one job might not be ideal for a different job. If you are thinking about installing a concrete driveway, then you need to consider the strength of the concrete, its air entrainment rating, its overall size, and even its slump rating. This is why it is a good idea to reach out to a concrete company for help. When it comes to concrete for your driveway, there are a few points to keep in mind.

The Characteristics That Define Concrete for a Driveway

If you are looking for concrete for your driveway, then you need to make sure that you find concrete that is going to be able to withstand the weight of vehicle traffic. Ideally, you need concrete that can stand up to 4,000 pounds per square inch for your driveway. During the cold winter, you also need to look for a concrete mix that has a six percent air-entrainment value. This will create small bubbles in the mix of concrete, providing water in the concrete a place to go when it freezes and expands.

In addition, in order to make the installation process easier, you need to think about the slump rating. Slump is a measurement of the workability and thickness of the concrete once it has been mix. You are looking for a slump rating of around 4 to 5 inches in order to make the installation process easier.

The Installation Process of Concrete for Driveways

Before your driveway can be poured, a contractor has to make sure that the site is prepared properly. This means providing a smooth, firm base upon which the concrete can be poured. Once the site has been formed properly, it is time to mix the concrete with water. Usually, ready-made concrete is used for concrete driveways because it meets many of the characteristics above. Once the mix is ready, the contractor will pour the wet concrete into the driveway, using shovels and rakes to ensure the concrete is laid out properly.

Once the concrete has been poured, it is going to be troweled and finished. This will make sure the final product looks appropriate. Finally, the concrete has to be cured as well. The curing process could last as long as 28 days, with the first few days being the most critical. This will harden the surface, allowing it to withstand the stress of routine foot and vehicle traffic. Then, the concrete driveway is finished.

Rely on an Experienced Concrete Company for Help Installing a Concrete Driveway

These are just a few of the most important points that you need to keep in mind if you are looking for concrete for your driveway. You need to make sure that you find the right concrete that is going to allow your driveway to withstand not only the elements but also routine vehicle traffic. Then, you need to find a contractor who understands the process of installing a concrete driveway. If you have a concrete project in the near future, you need to reach out to an experienced concrete company for help. That way, you can ensure that the project is completed properly the first time around.